Riding in the rain on an MTB is perfectly doable when the bike is prepared, your technique is adjusted and the trail is firm enough to handle your tires. For many riders autumn is the best part of the season: fallen leaves, cold air and empty trails. It is also the time when brake and drivetrain problems show up fastest and when trails get damaged most easily. As someone who has been building trails and servicing bikes since 2015, in this guide I go through what really makes a difference: when to ride, what to adjust on your bike and how to handle riding an MTB in mud without harming yourself, your bike or the trail.
In short:
- If your tire leaves a visible rut in the trail, the trail is too saturated. Wait for it to dry.
- For wet ground, drop your tire pressure by about 0.1–0.2 bar compared to dry conditions, and check the exact value in the pressure calculator.
- Check your brake pads before every rainy ride: mud and water wear them down much faster, and when less than about 1 mm of material is left, it is time to replace them.
- Brake earlier with one finger, ride through the middle of the trail and don't go around puddles, because that is how trails get wider.
- After the ride, rinse the bike with a gentle stream of water, dry it and lube the chain with a wet-conditions lubricant.
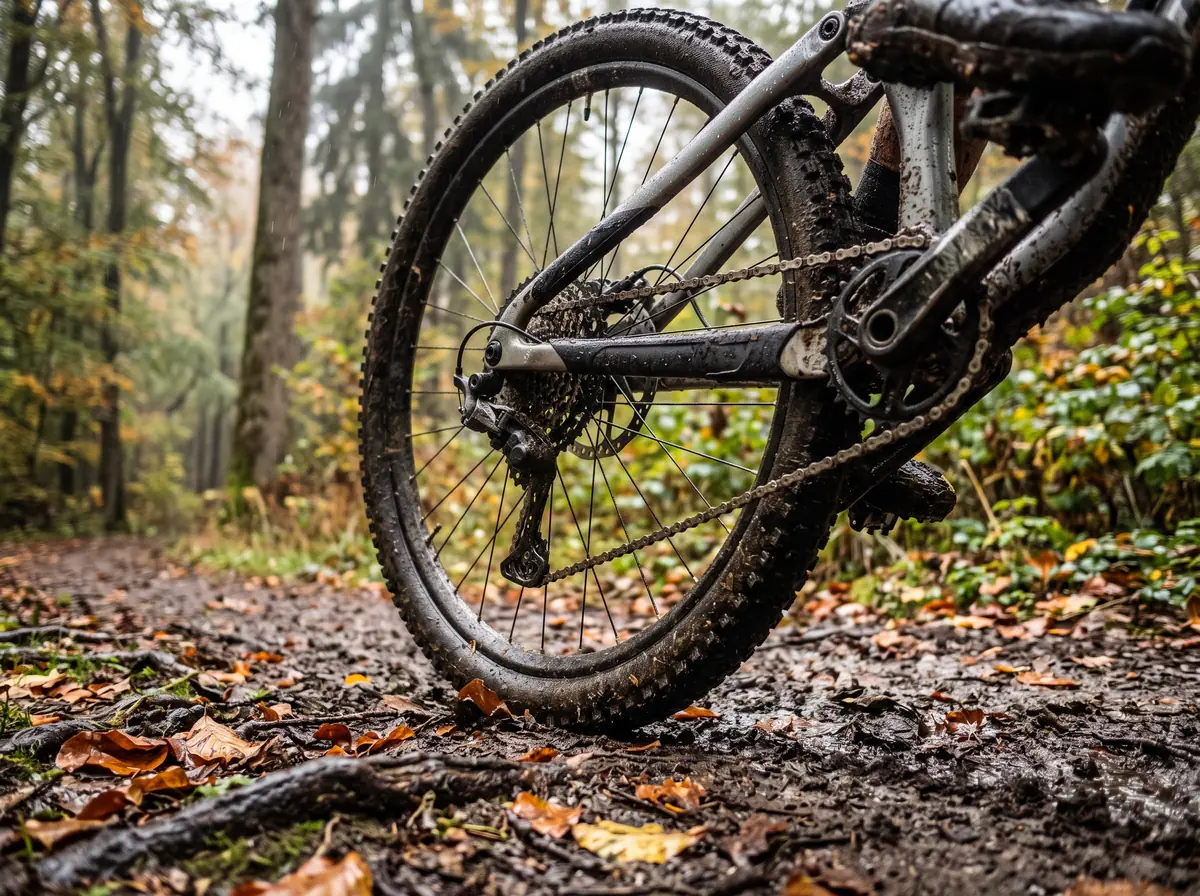
Riding in the Rain: When a Trail Is Rideable and When to Leave It
Riding in the rain starts with a decision about the trail, not about clothing: the first question is whether you should be out on that trail at all. Saturated ground can't handle the pressure of tires, and damage from a single rainy ride takes days or weeks to repair.
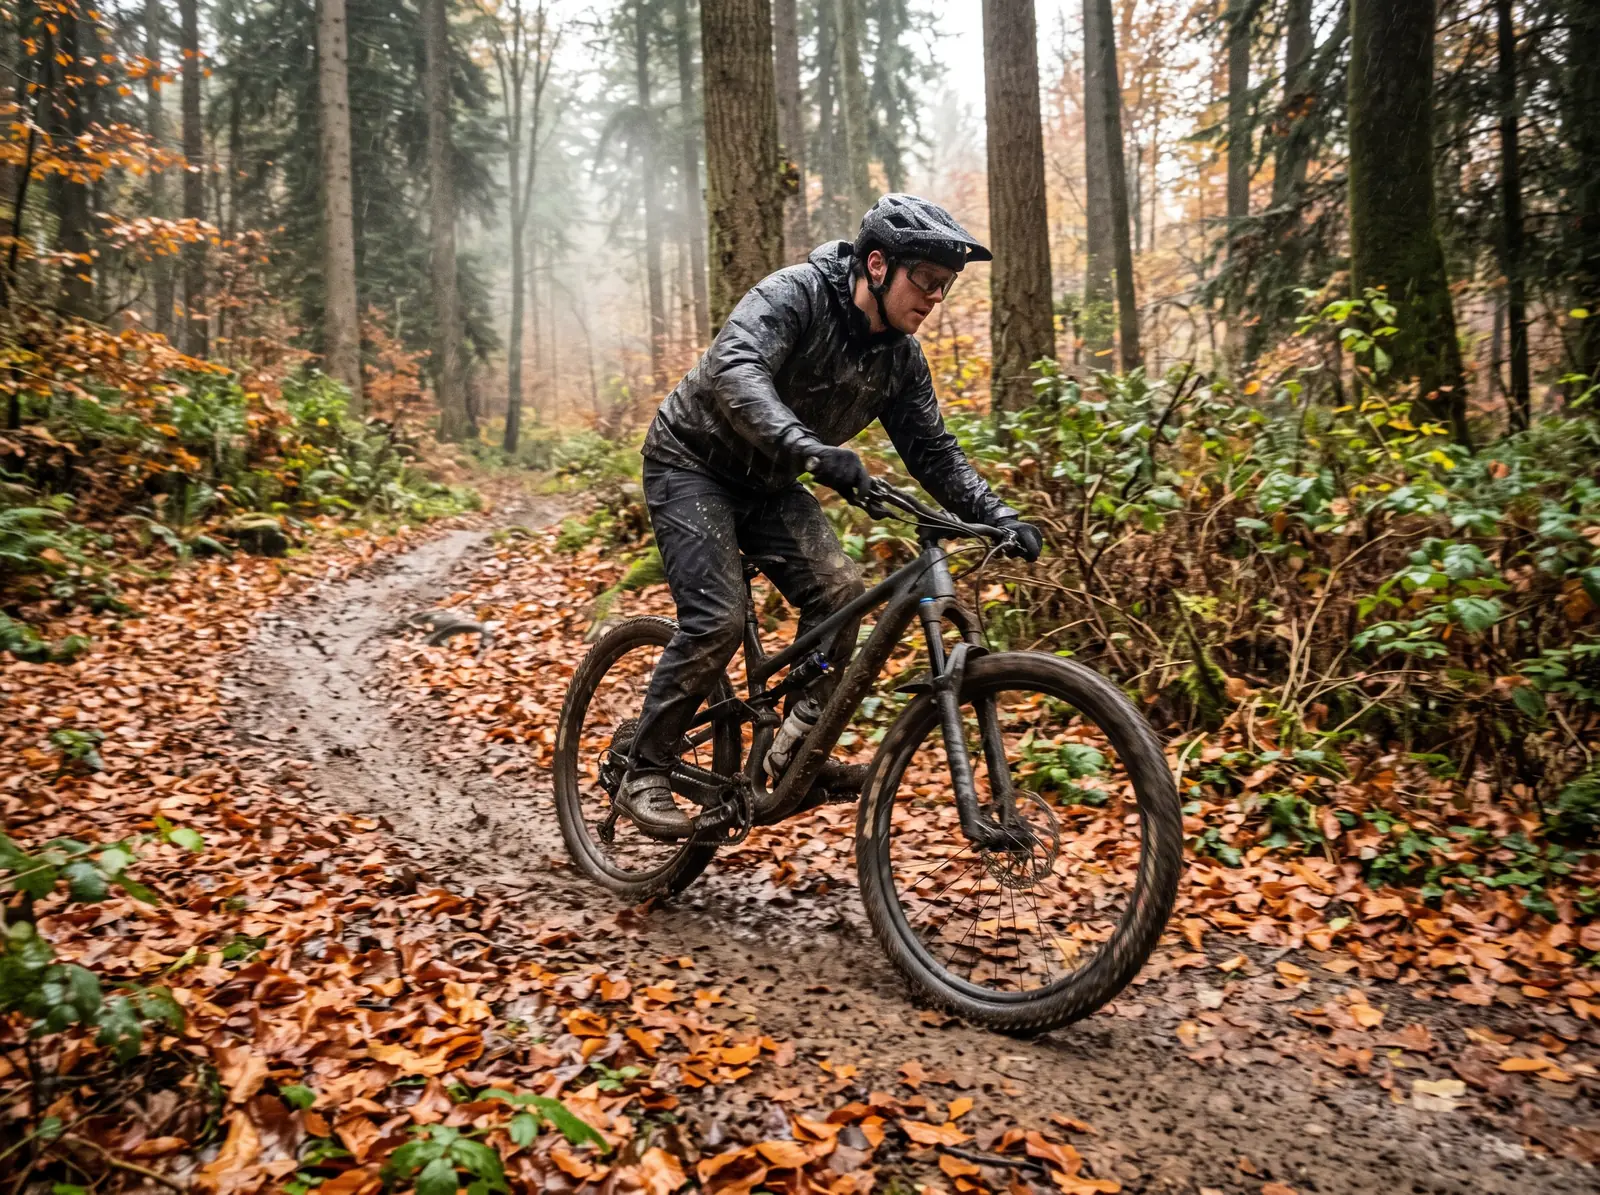
The Rut Test: How to Spot an Over-Saturated Trail
The rule is simple. If your tire leaves a visible rut, if you slide, or if mud sticks in thick layers, the trail is too wet and you should turn back. Gravelly and rocky ground drains and recovers quickly, while humus-rich soil stays soaked much longer. The same goes for after a short shower: the surface looks like it has dried, but underneath it is still mush.
Why Riding Around a Puddle Damages the Trail
Swerving around a muddy hole pushes the tire track toward the edge and widens the trail. From trail-building experience (see how our trails are built) I know that a single trampled bypass can turn into a second trail next to the first within a few weekends. If mud catches you mid-ride, it is better to roll slowly through the middle than to create a new line. The authors of this guide to riding after rain give the same advice: soft trails erode faster, and riding through the middle of the mud protects the edges.

Tires and Pressure for Muddy Trails
When it comes to riding in the rain, tires do most of the work: they are the only thing keeping you on the trail, so they are the first thing to adjust. With a wet MTB trail ahead of you, the general rule applies: a slightly softer tire has a bigger contact patch and grips better on wet roots and rocks. Don't overdo it, though. Pressure that is too low increases the risk of rim strikes and makes the tire fold over in corners.
| Surface | What happens | What to do |
|---|---|---|
| Wet roots and rock | Slick surface, the tire slides when it is too hard | Pressure about 0.1–0.2 bar lower than in dry conditions |
| Deep mud | Knobs clog up and the tire loses traction | Tire with taller, more widely spaced knobs, moderate width |
| Wet leaves on the trail | Roots and rocks are hidden underneath and grip is uneven | Lean the bike less, put more weight through your body in the turn |
| Gravel and dirt roads after rain | Grip is good, but the tire digs in under hard braking | Standard pressure, smooth riding without sudden braking |
The exact pressure depends on rider weight, tire width and the tubeless setup, so instead of guessing, use our tire pressure calculator and then lower the value by a small step. You can find more on choosing and maintaining tires in the guide how to choose bike tires. If you are still running tubes, our 9-step tubeless setup guide shows what the switch involves.
Brakes and Drivetrain in Wet Conditions
Rain doesn't just wear down your patience. Mud with fine sand works like sandpaper on pads, rotors and the chain. That is why a single wet ride can wear things out as much as several dry ones.
Brakes: Pads, Rotors and Hydraulics
Check pad thickness before the autumn period. When less than about 1 mm of friction material is left on the backing plate, replace them instead of waiting for the next ride. After a muddy ride, wipe the rotors with a clean cloth and brake cleaner, keeping oil and lubricants away. If the brake squeals, feels spongy or pulls harder than before, the cause is often contamination or air in the system; our guide to squeaky bike brakes covers the common causes. How to change pads is explained in the guide brake pad replacement, and if the problem is in the hydraulics, you need a hydraulic brake service.
Chain, Cassette and Derailleur
Dry lube washes off in the rain after a few kilometers, and the chain starts to squeak and wears quickly. For wet conditions use a thicker lubricant, apply it to a clean, dry chain and wipe off the excess. Which lubricants make sense is covered in the article on the best grease and oil for your bike, and the application technique in the guide chain lubrication. If the derailleur skips gears after mud, check that the hanger and the jockey wheels are clean before anything else.
The most expensive rainy ride is the one after which the bike is left dirty in the garage. Mud that dries on the chain and pads keeps working all night.
— Marko Ristivojević
Technique: Riding in the Rain and Mud Step by Step
A wet surface changes what you know about grip. A tire that holds like glue in the dry slides on wet roots, so your habits have to adapt.
- Brake earlier and more gently. Finish braking before the corner, not in it. Use one-finger braking and avoid locking the wheel.
- Hold the attack position. Elbows and knees bent, weight centered over the bike. The details are in the guide to the attack position and braking technique.
- Lean your body, not the bike. In a wet corner, keep the bike more upright and let your body go into the turn, so the tire stays on the best part of its profile.
- Cross roots at a right angle. Wet roots at a sharp angle lead to a crash, while a perpendicular crossing keeps the grip.
- Look further ahead. A longer view gives you time to correct. To learn how to scan the terrain, read the guide vision technique and terrain scanning.
- Keep a calm, steady pace. Entering mud too slowly gets you stuck, and too fast gets you sliding. Look for the speed at which the bike stays stable without sudden corrections.
Autumn Cycling: Clothing, Visibility and Safety
Rain cools the body quickly, and a wet rider who stops in the middle of the forest is in trouble within minutes. That is why autumn cycling is a matter of layers and planning, not bravery, and every ride in the rain should start with a dry spare in your pack.
- Layers: a breathable base layer, a warm mid layer and a light waterproof jacket that breathes. Cotton T-shirts are out because they soak up water and chill you.
- Gloves and glasses: wet fingers lose brake feel, and glasses protect your eyes from mud and twigs.
- Light: days are shorter, and the forest is darker at dusk than it looks. Take a light even when you set off in daylight. More on this in the article night riding in the bike park.
- Spare kit: a dry shirt in your pack, a thin jacket for breaks and basic tools.
- Plan: tell someone where you are going and when you'll be back, and cut the ride short if the rain gets heavier.
In summer the problem is the opposite, so also check out the article riding in extreme heat. A quick run through our 10-minute pre-ride bike check before you leave is worth the time on wet days.
Bike Care After a Wet Ride
Every ride in the rain leaves its mark on the bike, and the most important fifteen minutes are not on the trail but right after it. Mud that dries becomes an abrasive, and water left in bearings and around bolts causes corrosion.
- Rinse off the mud with a gentle stream of water, without a direct high-pressure jet on bearings, hubs and suspension. On an e-bike, avoid spraying the motor, battery and connectors directly.
- Clean the chain, cassette and chainrings with a brush and degreaser.
- Dry the bike with a cloth and leave it somewhere dry, and only then lube the chain.
- Check the pads, bolt tightness and tire pressure.
- Wipe the rotors and check that the brake grips evenly.
How to wash a bike at home without damaging the bearings is explained in the guide washing a bike at home. When the first frosts arrive, continue with our winter bike preparation guide.
Riding in the rain and mud is a pleasure when the trail, the bike and your technique are in tune. Wait for the trail to dry, adjust your tires, check your brakes and ride more calmly, and both your bike and the trail will thank you next season too.
If after autumn you have a squeaking drivetrain, soft brakes or a suspicious noise from the bearings, the bike should be inspected before winter. Check out our bike service or the small workshop for minor repairs.
Back from a muddy ride and something isn't working right? Book a slot and your bike will be ready for the next ride.
Book a slotFrequently Asked Questions
Is it dangerous to ride an MTB in the rain?
It is no more dangerous than dry riding if you adjust your speed, braking and gear. The biggest risks are wet roots, rocks and leaves that hide obstacles, as well as weaker braking power because of mud on the pads. Ride slower than in the dry, brake earlier and don't ride alone far from the road.
What tire pressure should I use for riding in the rain?
As a starting point, use the pressure you get from the calculator for a dry trail, then lower it by about 0.1–0.2 bar. The exact value depends on rider weight, tire width, rim and whether you ride tubeless. Don't go too low, because the risk of rim strikes increases.
Should you ride on a muddy trail?
You shouldn't if your tire leaves a rut or slides, because a saturated trail loses its shape and erodes. If mud catches you mid-ride, roll slowly through the middle of the trail and don't go around puddles. If at all possible, choose firmer ground or wait for the trail to dry.