Tech Tips · Bike Assembly
Bike Assembly from a Box:
8-Step Guide
Bike assembly from a box takes about an hour and is simple when you follow the right order. Here is what you need, the order in which to fit the parts, and what to check before your first ride.
Written by Marko Ristivojević, Master Bike Mechanic
In brief
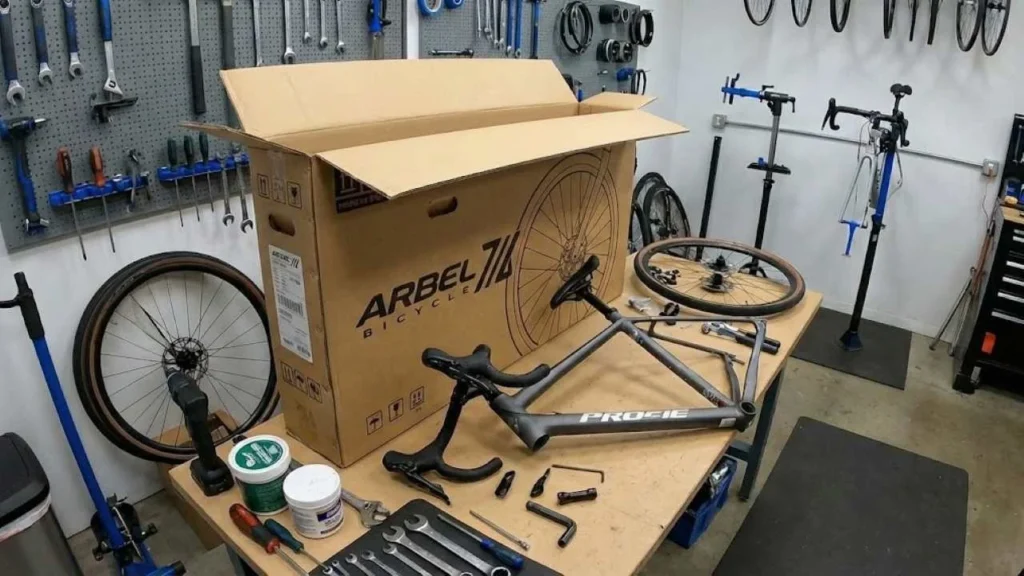
To assemble a bike from a box, open the box, take out the frame and wheels, fit the seatpost, handlebar, front wheel and pedals, then tighten everything with a torque wrench and finish with a final M-check.
Time
45–60 min
Tools
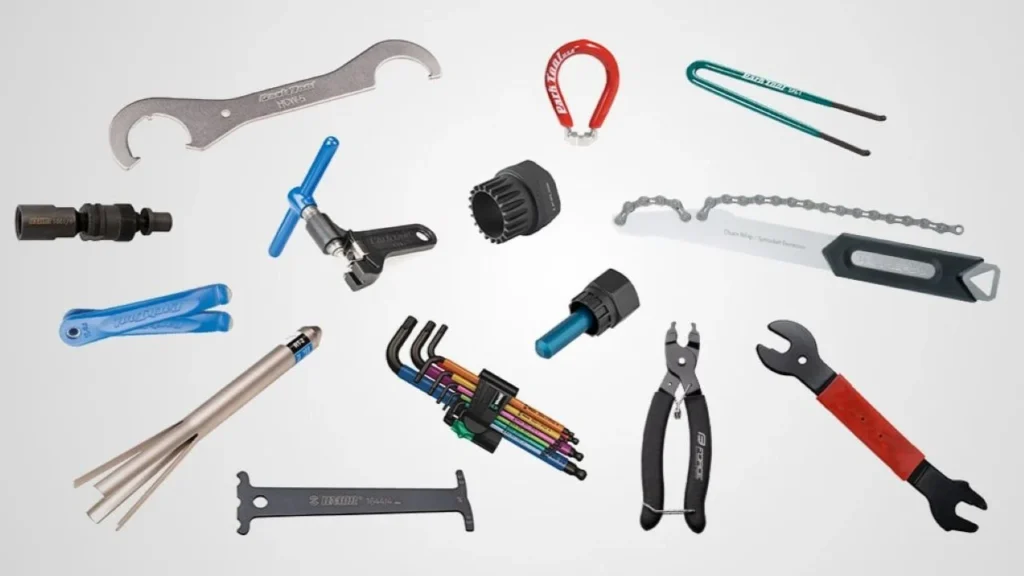
4, 5 and 6 mm Allen keys
Torque
Wrench required
Difficulty
Easy to medium
Author: Marko Ristivojević, Master Bike Mechanic · BK MTB Evolution, Istočno Sarajevo
Why Bike Assembly Needs Your Attention
Online sales keep growing, and so does the need to put a bike together at home. Final assembly is up to you, and the safety of your first ride depends on it.
As a workshop mechanic, I'm sharing the same sequence we use in the shop, from unpacking to the M-check.
Bike Assembly: Tools and Preparation
Wrenches. 4, 5 and 6 mm Allen keys cover most bolts. For the rest of the workshop kit, see our guide to workshop setup.
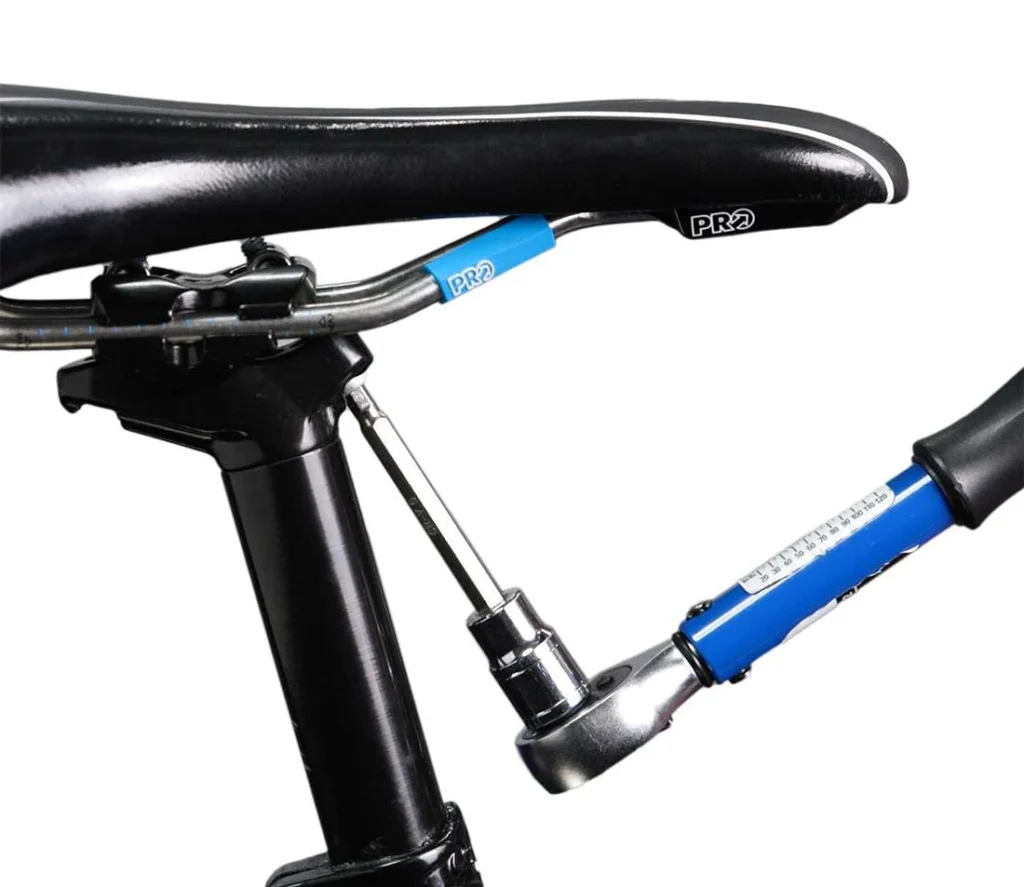
Torque wrench. It's a must, especially on carbon parts where clamping force is critical.
Paste and pump. Carbon paste or grease for the seatpost and threads, plus a tire pump.
Steps 1–2: Opening the Box and Unpacking the Parts
Stand the box upright. Use a flathead screwdriver to remove the staples from the lid, because sharp metal damages paint and hands.
Take out the frame and wheels. Lift them out together and carefully remove all the protective plastic.
Keep the packaging. You'll need the box for travel or when you send the bike for service.
Check the parts. Inspect the frame, fork and the parts in the box for damage before assembly.
Steps 3–4: Saddle and Handlebar
Grease the seatpost. Paste or grease protects against corrosion and creaking right from the first installation.
Fit the saddle. Fine-tune height and tilt later, following the saddle adjustment guide.
Center the handlebar. Place it in the stem and align it with the front wheel.
Tighten evenly. On integrated cockpits, tighten the stem bolts in a cross pattern with a torque wrench for even clamping pressure.
Steps 5–6: Front Wheel and Pedals
Front wheel. Slot it into the fork and tighten the axle firmly, but don't overdo it, or you may damage the bearings.
Pedals. Grease the threads and remember that both tighten toward the front of the bike. This is a common mistake the first time you assemble a bike.
Pump. Inflate the tires to the recommended pressure, see the tire pressure calculator.
Steps 7–8: M-check and Final Inspection
M-check. Check every bolt from the front wheel, through the handlebar, to the rear derailleur.
Play and brakes. If you feel any play, go back a step. Also check that the brakes grip.
Gears. Run through all the gears on the spot and check that the chain doesn't skip.
Important: Take torque values from the component manufacturer, and for general assembly advice see the Park Tool guide. For a zero service and derailleur setup, visit our workshop.
FAQ
How long does it take to assemble a bike from a box?
On average between 45 and 60 minutes. Most of the time goes on unpacking and adjusting the saddle and handlebar.
Can I assemble a bike myself with no experience?
Yes, with this guide and basic tools. For the zero service and a derailleur check, we recommend visiting a workshop.
Why does a torque wrench matter?
It prevents over-tightening bolts, which can crack expensive carbon parts.
What is a zero service?
It's a check and fine-tuning of a new bike: brakes, gears, bolt tightness and tire pressure. Book your slot online.