Tech tips · Brakes
Brake pad replacement:
a 5-step guide
Brake pad replacement is a core skill for every rider and a job that takes about 10 minutes. Here's how to choose pads, spot wear and swap them, with tips from our mechanic.
Written by Marko Ristivojević, Master Bike Mechanic

In brief
Brake pad replacement means removing the wheel and old pads, cleaning and resetting the pistons, fitting new pads, centering the caliper and bedding in. Change pads when the compound is thinner than 1.5 mm.
Time
About 10 min
Tools
Allen keys, pliers
Wear limit
Under 1.5 mm
Difficulty
Easy to medium
Author: Marko Ristivojević, Master Bike Mechanic · BK MTB Evolution, Istočno Sarajevo
Why this job matters
Cycling is fun while you're moving, but your safety depends on how you stop. Brakes are the most critical component on a bike.
You don't need to be an engineer to replace MTB disc brake pads. Brake pad replacement is a 10-minute job that saves you money, and properly bedding in brakes gives you full braking power.
Brake pad replacement: types and differences
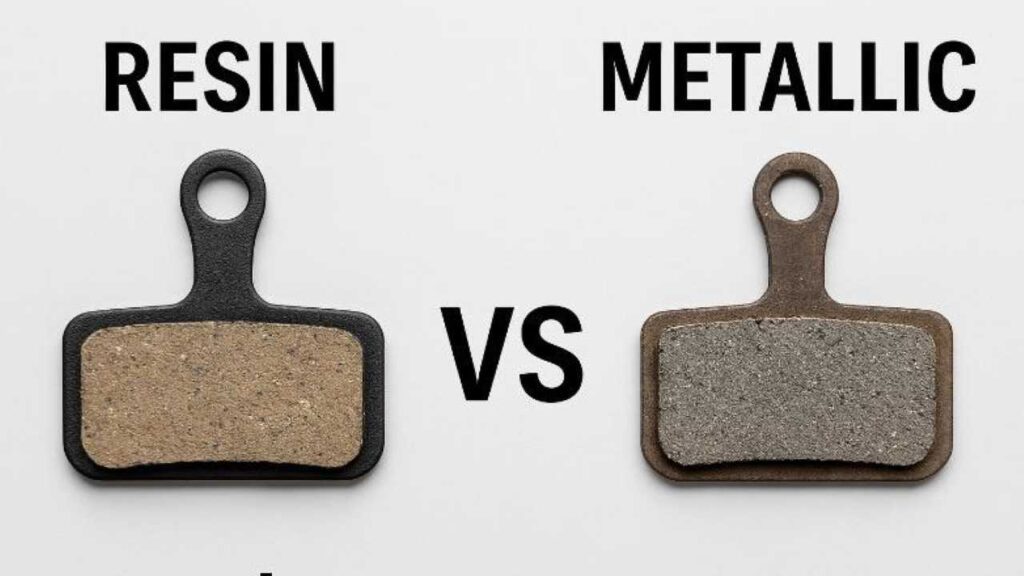
Organic (resin pads). The standard on most new bikes, made of organic fibers bound with resin. They're quiet, bite well when cold and are gentle on rotors, but they wear quickly in mud and fade on long descents. Ideal for XC, light trail riding and dry conditions.
Sintered (metal pads). The workhorses for harsh conditions. They last long, resist heat and bite hard in the wet, but they're noisy and wear rotors faster. Ideal for enduro, downhill and heavier riders. If the rotor says "Resin pads only", don't fit metal pads.
Semi-metallic and ceramic. Hybrid options that offer a balance or top-level heat dissipation (ceramic), at a higher price. For help choosing, see our guide on which pads to choose.
When to replace your pads
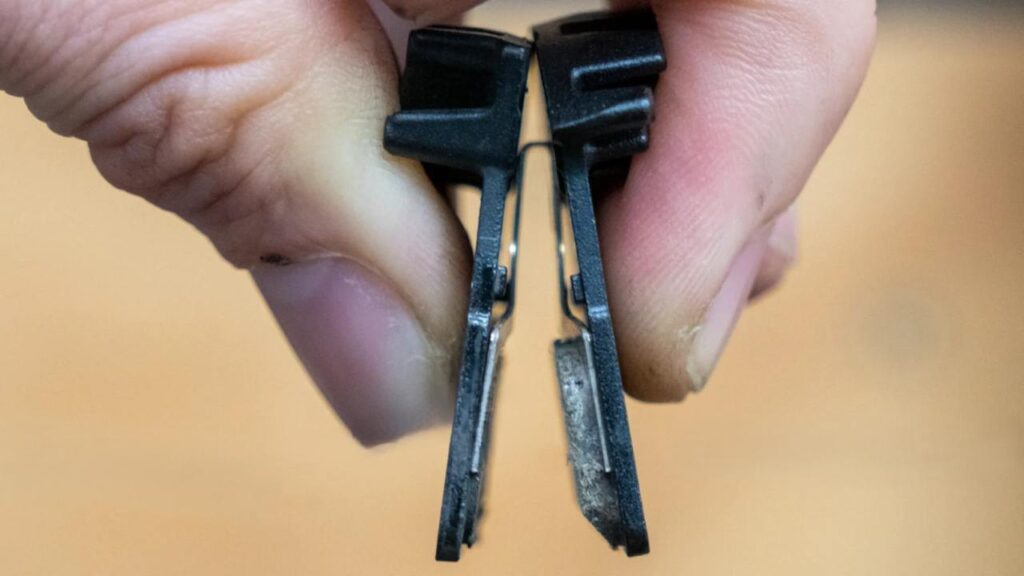
Thinner than 1.5 mm. Replace them right away, because thin pads risk damaging the pistons. Check the thickness on the compound, not the metal backing plate, before every longer ride.
Uneven wear. A sign of a stuck piston. New pads alone won't fix it, the caliper needs servicing.
Oil-soaked. Throw them away, contaminated pads can't be cleaned reliably.
Metal-on-metal sound. That's the sound of a dying rotor. If you get to this stage, the repair is much more expensive.
Tools and step 1: removing the wheel and pads
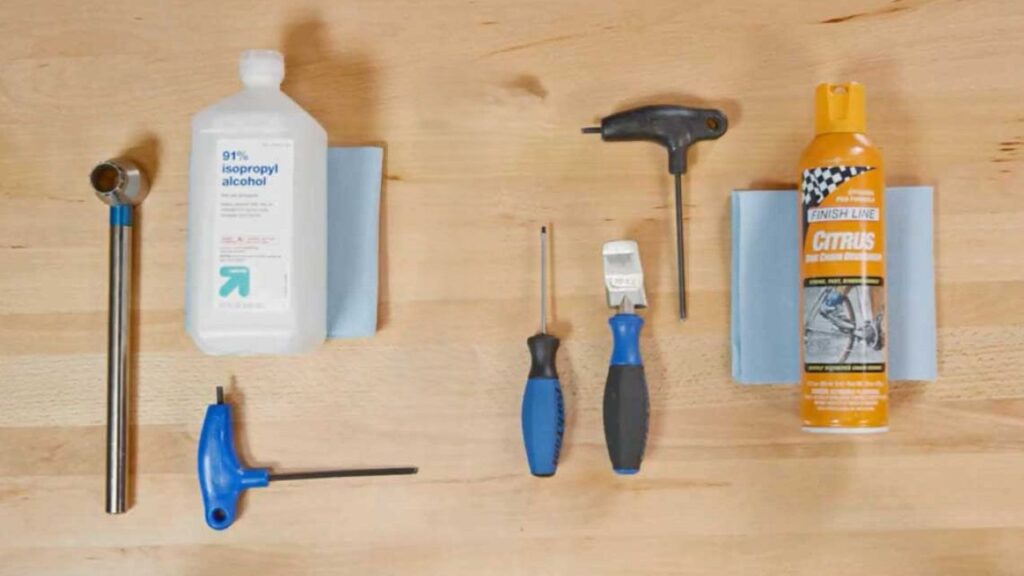
Materials. New pads (check compatibility with your brake model), isopropyl alcohol and a clean cloth for cleaning the pistons.
Tools. Allen keys (usually 3 or 5 mm) or a flat screwdriver, pliers for pulling out the retaining pin, and a plastic tire lever.
Step 1. Remove the wheel and find the retaining pin at the top of the caliper. Unscrew the bolt with an Allen key, then straighten the split pin with pliers and pull it out.
Old pads. Pull them out and check how worn they are.
Step 2: cleaning and resetting the pistons
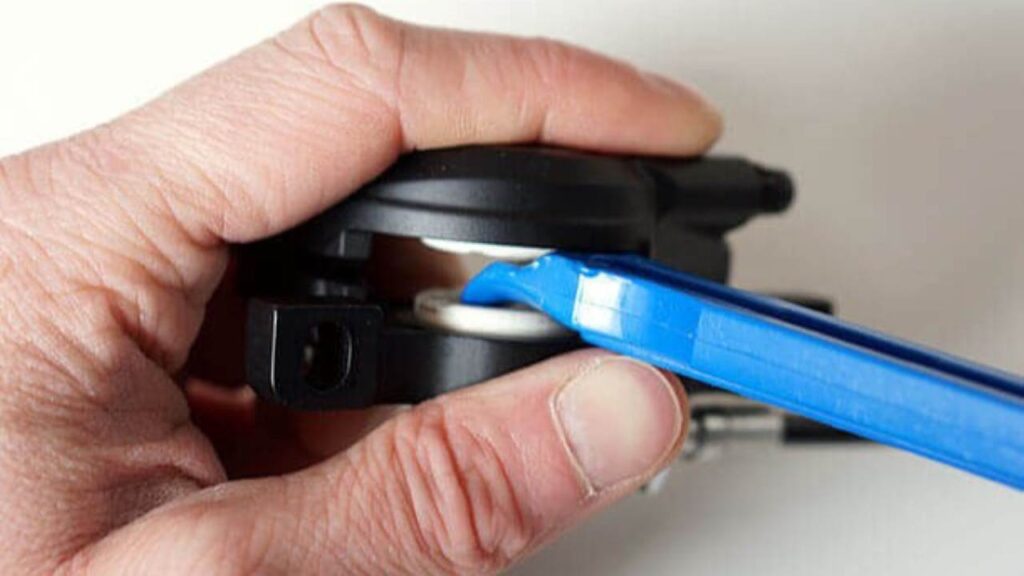
This is the key step. The pistons have extended as the old pads wore down. To make room for the new, thicker pads, push them back in.
Clean first. Clean the pistons with a cotton swab dipped in isopropyl alcohol. Dirty pistons carry grit into the seals, which leads to leaks or sticking.
Pushing back. Put the old pads back into the caliper (without the retaining pin) and push them with a plastic lever until the pistons retract. The old pads protect the ceramic pistons from the tool.
Steps 3–5: fitting, centering, bedding in brakes
Step 3, fitting. Don't touch the braking surface with your fingers, grease ruins braking power. The spring goes between the two new pads, slide the sandwich into the caliper, then refit the retaining bolt or split pin.
Step 4, centering. Refit the wheel, squeeze the lever a few times and spin the wheel. If you hear rubbing, loosen the caliper bolts, squeeze the brake hard and tighten the caliper while holding the lever.
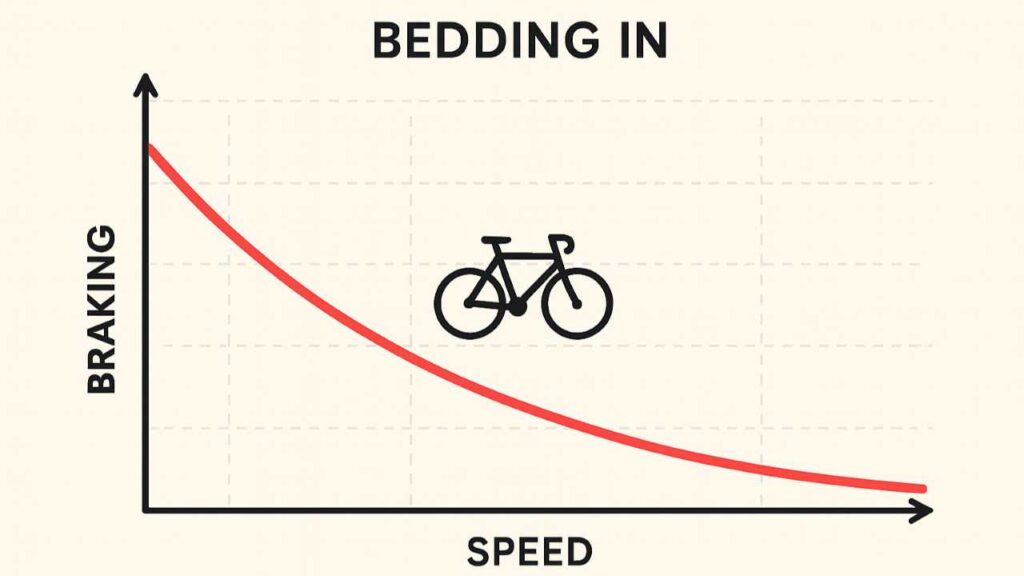
Step 5, bedding in. On flat tarmac, accelerate to about 20 km/h and brake evenly until you almost stop, 10–15 times. Then go to about 30 km/h and brake harder, 10 times. Let the system cool down.
Pro tip from mechanic Marko Ristivojević: Before you go into the caliper, check whether the rotor says "Resin pads only" and never leave greasy fingerprints on a new pad. Without bedding in, pads "glaze over" and never work well. You can also find the manufacturer's instructions for your model in the Park Tool guide.
FAQ
How often should I change brake pads?
It depends on how and where you ride. Check them visually once a month, and when the compound is under 1.5 mm, it's time to replace them.
Why do new pads squeal?
They may have been contaminated with oil during fitting, or they haven't been bedded in. Repeat the bedding-in procedure.
Can I fit metal pads on any rotor?
No. Check what's written on the rotor. If it says "Resin Pads Only", metal pads will destroy it.
When should I leave the job to a workshop?
When the pads are worn unevenly, which means a stuck piston, or when you don't have the tools. Book your service appointment online.