Protocol: Moving On to Riding Without Training Wheels
Riding without training wheels is the first big milestone in every cyclist's life. This expert guide explains step by step how to teach a child to ride a bike, from setting up the bike to the first confident pedal strokes.
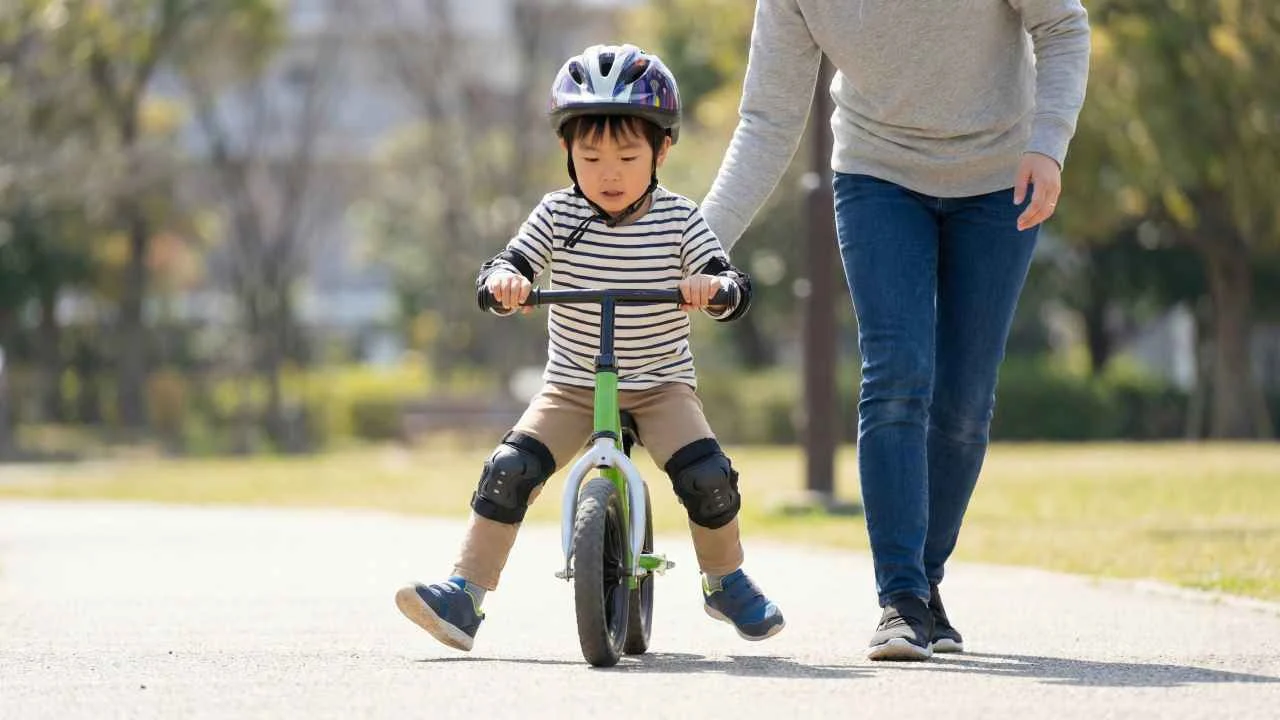
Goal: Developing independent balance, coordination and the first self-powered ride on two wheels.
Focus: Motor skills and proprioception.
Key Terms Defined
1. Bike Setup (Hardware Setup)
Training wheels are counterproductive because they teach a child to lean the wrong way in corners. Our protocol calls for you to remove training wheels permanently so that riding without training wheels is learned properly and safely.
Table: Setting Up the Bike for Learning
| Component | Setting | Reason |
|---|---|---|
| Saddle | Low (both feet flat on the ground) | Lets the child stop at any moment, which reduces fear. |
| Pedals | Temporarily removed (optional) | Turns the bike into a balance bike for practicing balance. |
| Tire pressure | 1.5 - 2.0 bar | Slightly lower pressure gives a larger contact patch and more stability. |
| Brakes | Check the lever reach | If you are not sure, visit our Service for an adjustment. |
2. Training Protocol: The "Push and Balance" Method
Phase 1: Scoot & Coast
The child sits on the bike and pushes off the ground with their feet.
Goal: Reaching a speed of 5-10 km/h and coasting for 5 seconds without touching the ground with the feet.
Biomechanics: The eyes must look 10-15 meters ahead, not at the front wheel. A raised chin stabilizes the spine and improves balance.
Phase 2: Using the Brakes
Before learning to pedal, the child must master stopping.
Phase 3: First Propulsion (Pedaling)
Put the pedals back on the bike. The saddle stays low. This is the moment when riding without training wheels becomes real.
- Starting position: The dominant foot on the pedal at the "2 o'clock" position (slightly ahead of vertical).
- Action: A strong push down on the front pedal while lifting the other foot at the same time.
3. Biomechanics and Riding Technique
Success comes down to correct body positioning.
4. Nutrition and Hydration
Kids dehydrate faster and burn through their glycogen reserves sooner because of their lower body mass.
- Before training (Pre-load): Light carbohydrates (e.g. a banana or a slice of bread with jam) 30-45 min before the ride.
- During training: Drink every 15-20 min. Aim for 150-200ml of water or lightly diluted natural juice.
- Recovery: After a successful session, offer a combination of protein and carbohydrates (e.g. yogurt and fruit) for muscle recovery.
5. Safety Protocol
-
Helmet: Mandatory. It must sit level, 2 fingers above the eyebrows. The straps form a "V" around the ears.
-
Terrain: Only flat, paved or concrete areas with no traffic. Avoid grass (high rolling resistance makes the initial balance harder).
Pro Tips for Coaches and Parents
Never hold the bike by the saddle or handlebars while your child is riding. You take the responsibility for balance onto yourself, and the child's brain doesn't learn proprioception. If support is necessary, hold the child under the armpits or by a hi-vis vest instead.
Use short commands: "Pedal!", "Look straight!", "Brake!".
If a fall happens, stay calm. A quick emotional reaction from a parent triggers fear in the child. Analyze the technical mistake (e.g. "You weren't looking ahead") instead of focusing on the pain.
Level 1 kids can focus for 20-30 minutes. As soon as you notice lost concentration or fatigue, end the session.