Tech tips · Workshop
Home bike workshop setup:
a proper workshop for your MTB
A good home bike workshop isn't about looks. It's about speed, precision and enjoying the work. Here's how to lay out the space, choose your tools and organize your chemicals.
By Marko Ristivojević, Master Bike Mechanic
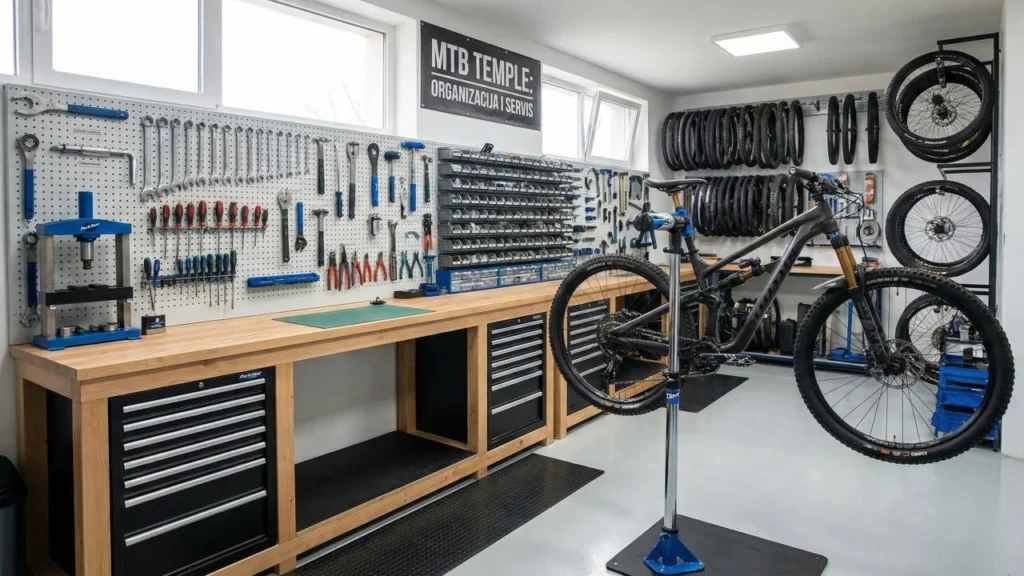
In short
Put the bike repair stand in the middle of the room with a metre of free space around the bike, the workbench behind your back and strong light overhead. Buy quality basic tools and keep chemicals separate from them.
Space
1 m around the bike
Light
4000–6500 K
Torque wrench
2–15 Nm
Workbench
90–100 cm
Author: Marko Ristivojević, Master Bike Mechanic · BK MTB Evolution, Istočno Sarajevo
A workshop where everything has its place
A well-planned home bike workshop matters most the moment you need a 5 mm hex key and you're digging through a third box of bolts while grease dries on your hands. Good organization means speed and precision.
This guide walks through the key elements of a professional home bike workshop: space, tools, organization and chemicals.
Home bike workshop layout: ergonomics and workflow
Bike repair stand. Place it in the middle of the room, not in a corner, so you can reach the bike from every side. Anchor a fixed stand into concrete; a portable one should have a wide base.
Workbench. Keep it behind your back at waist height (90–100 cm), with only the tools you're using right now on top.
Lighting. A single bulb isn't enough. You need bright, diffused light (4000–6500 K) above the bike and an extra task lamp for precision work.
Essential bike tools for 90% of the work
Hex keys. 2, 2.5, 3, 4, 5, 6, 8 and 10 mm, ideally with ball ends.
Torx keys. T10, T25 (for rotors) and T30.
Torque wrench. A 2–15 Nm range is a must for carbon parts.
Cable cutters. Use only dedicated, sharp cutters. Don't buy cheap hundred-piece sets, because quality tools (Wera, Unior, Park Tool) protect your bolts.
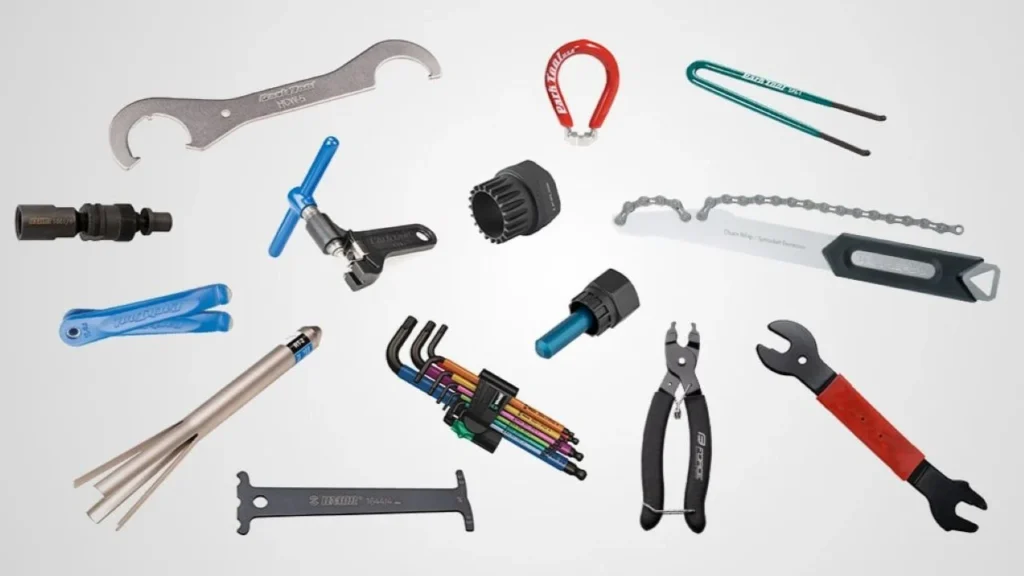
Specialized MTB tools
Cassette. A chain whip and a cassette lockring tool.
Crank axle. A bottom bracket tool, paying attention to the standard.
Chain. A chain wear gauge and a chain tool.
Quick link. Quick link pliers.
Wall or drawers: bike tool organization
Shadow board. A wall with tool outlines for your most-used tools. You see right away what's missing before you close the workshop.
Drawer system. For small parts and consumables: cable end caps, valves, brake pads and spare bolts.
Hybrid approach. Mechanics prefer it: a wall for frequently used tools, drawers for the small stuff.
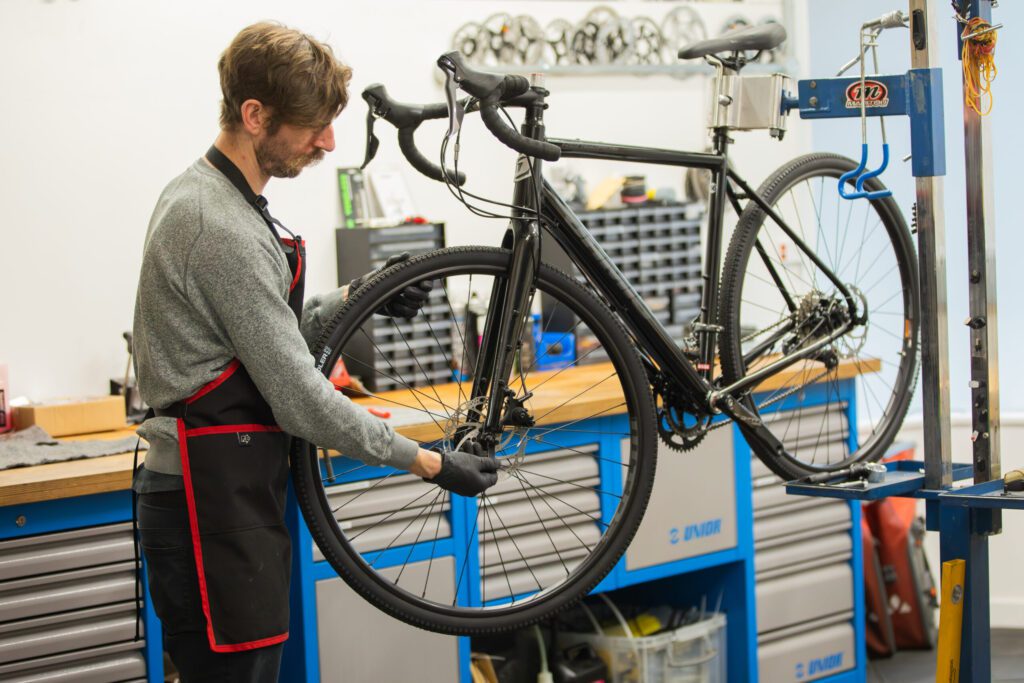
Chemicals and fluids
Degreasers and greases. Degreaser for the chain and cassette, assembly grease, bearing grease and carbon paste. See the overview in our guide to bike grease and oils.
Brake fluids. Mineral oil or DOT. Never mix them.
Tubeless sealant. Always keep a litre in reserve.
Tip: keep chemicals separate from your tools so leaks don't ruin your equipment, and put a rubber anti-fatigue mat around the stand to protect your back and knees. For more workshop equipment examples, see the Park Tool repair help library.
FAQ
Where should I put the bike repair stand?
In the middle of the room, with at least a metre of free space around the bike. If it's a fixed stand, it must be anchored into concrete.
Which tools are essential for basic bike servicing?
A set of quality hex keys (2–10 mm), Torx T10, T25 and T30, a 2–15 Nm torque wrench and dedicated cable cutters.
What's the best way to organize tools?
A shadow board for frequently used tools so you can see everything at a glance, and drawers and organizers for small consumables.
Why not buy cheap tool sets?
Cheap tools are made of soft metal and easily round off bolt heads on expensive components. It's better to buy fewer, but higher-quality pieces.