Tech tips · Suspension
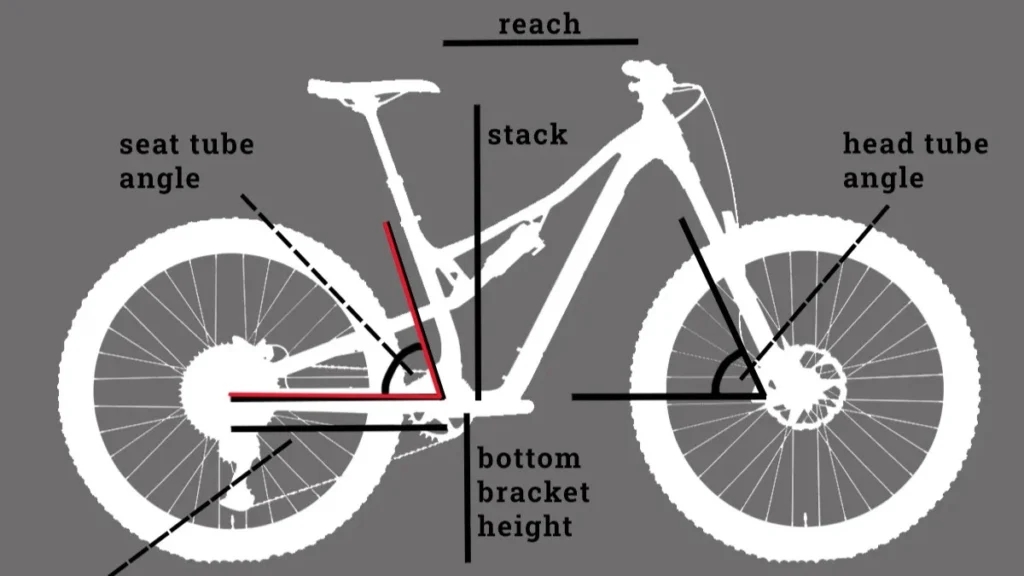
Seat tube angle:
damping and MTB kinematics
Your seat tube angle (STA) determines your pedalling position and affects how the rear suspension responds. Here is how to read it and adjust your damping, with no complicated formulas and with examples you can check on your own bike and your usual route.
Written by Marko Ristivojević, Master Bike Mechanic
In short
A steep seat tube angle (77–78°) moves your weight forward and increases anti-squat, so you need less LSC. A slacker STA (73–75°) calls for 2–3 clicks more LSC or a climb switch.
Steep STA
77–78°
Slack STA
73–75°
Steep STA
Less LSC
Slack STA
+2–3 clicks LSC
Author: Marko Ristivojević, Master Bike Mechanic · BK MTB Evolution, Istočno Sarajevo
Why seat tube angle matters
Your bike is not just metal and rubber. It is precise geometry in which every degree counts. The seat tube angle is a metric that even experienced riders often overlook. That is why it is worth understanding before you touch any rear shock setting, because it determines how much your pedalling loads the rear suspension and how much the bike will sink under power on climbs. Below we explain the terms, how they relate to each other, and the concrete steps you can try right away on your own trail, with no special tools and no wasted time on random adjustments.
This angle directly affects your pedalling position and, surprisingly, how you interact with the rear damping.
Seat tube angle (STA) and pedalling position
Definition. STA is the angle of the seat tube relative to the horizontal, measured in degrees. A steeper angle (e.g. 78°) means the tube is closer to vertical.
Rider position. STA determines where your weight sits relative to the bottom bracket, so it is the foundation of your pedalling position.
Link to the suspension. The same shift in your centre of gravity affects the anti-squat characteristics of the rear suspension.
Anti-squat and the role of STA
What anti-squat is. It measures how much the suspension resists compression caused by pedalling force. High anti-squat means less pedal bob at the rear while you pedal hard.
High anti-squat. The bike is efficient on climbs, but it can feel a bit harsh over obstacles.
Steeper STA (77–78°). Your weight is shifted forward, geometric anti-squat is higher, and the bike is calmer and more efficient when pedalling.
Slacker STA (73–75°). Your weight is shifted back, anti-squat is lower, and more of your body weight loads the suspension, so you lose energy.
Damping to match your geometry
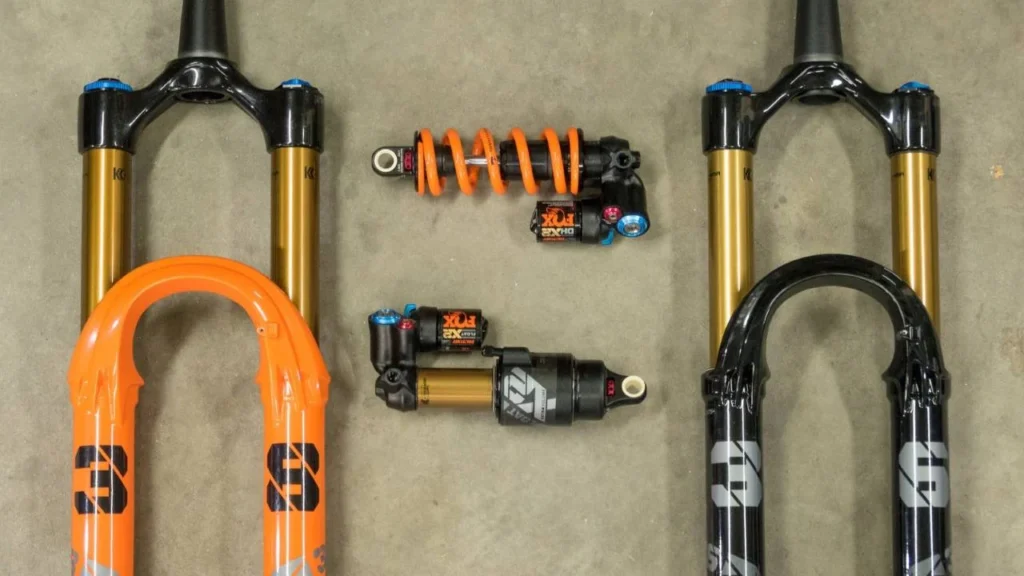
Steep STA, LSC. The kinematics already do part of the job, so you need fewer clicks of LSC to keep the suspension active.
Steep STA, HSC and rebound. Keep HSC moderate for big hits, and rebound at a standard fast setting so the suspension doesn't "pack down" on fast sections.
Slack STA, LSC. Add 2–3 clicks of LSC to tame pedal bob. This makes up mechanically for the lack of anti-squat.
Slack STA, rebound and climb switch. With more LSC, make sure the rebound doesn't get too slow. On bikes like this, a climb switch or lockout becomes essential for climbing.
Diagnostics on the trail
Rear end sinks. When you start pedalling hard, you need more LSC (if the STA is slack) or a climb switch.
Rear wheel feels "locked up". You have too much LSC or the anti-squat is too high, which is typical of steep STA bikes.
Geometry sets the baseline. Damping only fine-tunes the character that the bike's geometry already provides.
Practical tips
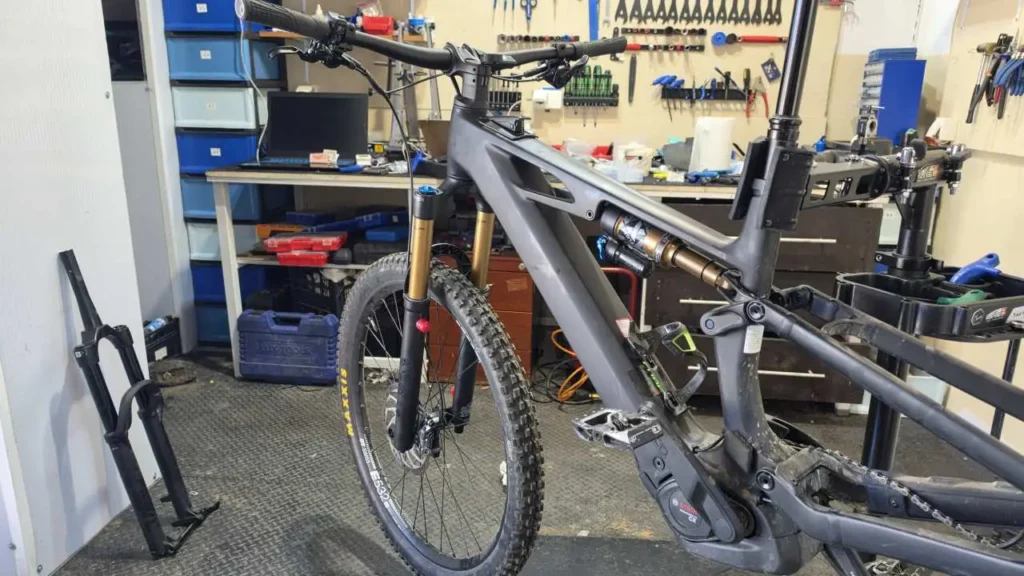
Sag first. Before fine-tuning your damping, set your sag as described in the suspension tuning guide.
Know your model. You choose the shock type and kinematics based on your bike. Read more in the MTB suspension guide.
Geometry as a whole. STA is just one measurement, so also look at reach and stack in the guide what are reach and stack.
Tip: set aside 15 minutes on flat ground and feel the difference between open and firmer damping. Only then will you truly understand the link between geometry and mechanics. If you're not sure how to set up your rear shock, bring your bike to the workshop and we'll go through all the settings together on the stand, step by step, with a test ride after every change. For manufacturer recommendations, visit the Fox website.
FAQ
What is anti-squat?
It is the suspension's resistance to compression caused by pedalling. High anti-squat means less pedal bob at the rear, but it can feel harsher over obstacles.
How does seat tube angle affect damping?
A steep STA needs less LSC because the kinematics already provide anti-squat, while a slack STA calls for 2–3 clicks more LSC.
When should I use a climb switch?
On bikes with a slacker STA, because it mechanically makes up for the lack of anti-squat on climbs.
My rear end sinks while I pedal. What should I do?
Add a few clicks of LSC or engage the climb switch, and make sure the rebound stays fast enough.