How to choose MTB pads for knees and elbows so that they protect you, and you do not take them off on the first climb? The answer comes down to four things: riding style, pad type, certification and exact size. Price and looks come last. In this guide we go step by step, from the difference between soft and hard shell models to the EN 1621-1 label, measuring and replacement, so you know exactly what to look for before you buy.
In short:
- How to choose MTB pads: first define your riding style, then the type, then the model.
- Soft pads are for trail and long climbs, hard shell for enduro, downhill and bike park.
- Look for EN 1621-1: Level 1 lets through up to 35 kN on average, and Level 2 up to 20 kN of force to the joint.
- There is no MTB-specific standard, so EN 1621-1 (the motorcycle standard) is a practical measure of quality.
- A pad that slides or presses behind the knee will not be worn, so always try the size before you buy.
How to choose MTB pads: why knees and elbows come first
In a crash in a corner, over the bars or sideways, knees and elbows are often the first parts of the body to hit the ground, a rock or a root. Joints have little muscle and fat around them, so impact and abrasion leave injuries that last. Good pads cannot prevent every injury, but they reduce the impact force and protect the skin when you slide.
That is why pads are the logical next step after a helmet. If you have not chosen your head protection yet, first read how to choose an MTB helmet, and for the wider picture of gear see the guide to MTB trail safety.
Soft or hard shell: types of MTB pads
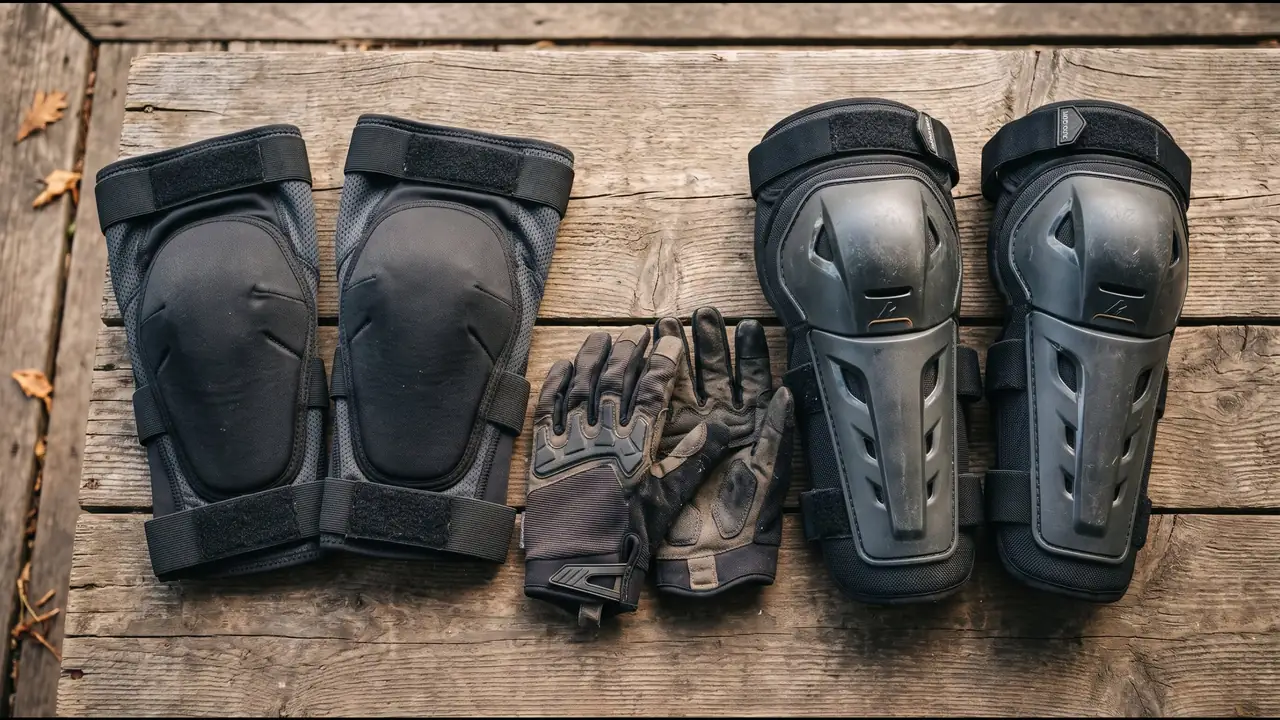
The basic difference between MTB knee pads and elbow pads is the construction. When you think about how to choose MTB pads, first decide how important comfort on the climb is to you, and how important protection on the descent is.
| Pad type | Best for | Advantages | Drawbacks |
|---|---|---|---|
| Soft (sleeve) pad | Trail, XC, long rides | Light, comfortable and breathable, does not hinder pedalling | Weaker protection against sliding and sharp impacts |
| Soft with hard cap | Trail and lighter enduro | Good compromise between protection and comfort | Slightly heavier and warmer than a plain sleeve |
| Hard shell | Enduro, downhill, bike park | Best sliding on the ground and impact spread | Weight, bulk and weaker ventilation |
Soft pads use viscoelastic foams (for example D3O or Poron) that stay soft while you move and harden on impact. Hard shell models have a plastic cap over the joint, which slides better on the ground and spreads the impact over a larger area. For most recreational riders a soft model with a hard insert is the most sensible choice.
EN 1621-1: Level 1, Level 2 and Type A or B
When you look for MTB elbow pads and knee pads, look for the EN 1621-1 label on the tag. It is the European standard for joint protection, written for motorcyclists. There is no bicycle-specific standard, so the MTB industry uses it as a practical measure. You can read the details of the test method in this explanation of the knee pad test.
In the test, a 5 kg weight is dropped onto the pad from a height of one metre, which corresponds to an energy of about 50 J, and the force that passes through to the joint is measured under the pad. For Level 1 the average must be up to 35 kN (no single impact above 50 kN), and for Level 2 up to 20 kN (none above 30 kN). Type A marks a smaller and Type B a larger protected area.
For the back there is a separate standard, EN 1621-2, with stricter force limits. Do not confuse it with EN 1621-1 when reading specifications.
How to choose MTB pads by riding style
How to choose MTB pads for trail and long rides
On long climbs, ventilation and weight matter most. Take light soft Level 1 pads with a breathable back panel behind the knee and silicone grippers that hold the pad in place. A good trail pad is almost unnoticeable while you pedal.
How to choose MTB pads for enduro
Enduro asks for a compromise. A soft pad with a hard cap, or a light hard shell with Level 1 or 2, covers the joint well on the descent and can still be worn on the climb. See also our enduro cycling guide.
How to choose MTB pads for bike park and downhill
On downhill tracks and jumps speeds are higher and crashes harder. A hard shell with Level 2 and good coverage of the knee and shin is a sensible choice here, together with a full face helmet. At Bike Park Evolution a helmet is mandatory, and pads are recommended extra equipment, especially for jumps and faster lines. If you are learning to jump, also read MTB jumps for beginners.
Materials and foams: what you really pay for
Most modern soft pads use smart viscoelastic materials, for example D3O, Poron or SAS-TEC. They are soft and flexible while you move, and on impact they harden and spread the force. Cheaper models use plain EVA foam, which is light but more often lets through more force in a harder impact. That is why, when you think about how to choose MTB pads, look not only at price but also at material and certification.
The outer fabric is another item. Cordura and similar tough fabrics resist abrasion better when sliding, and an elastic mesh behind the knee reduces heat. Higher-end models also offer an anatomical shape that follows the bent knee, so they pull less and do not slip out of position.
Size and adjustment: how to check that a pad fits
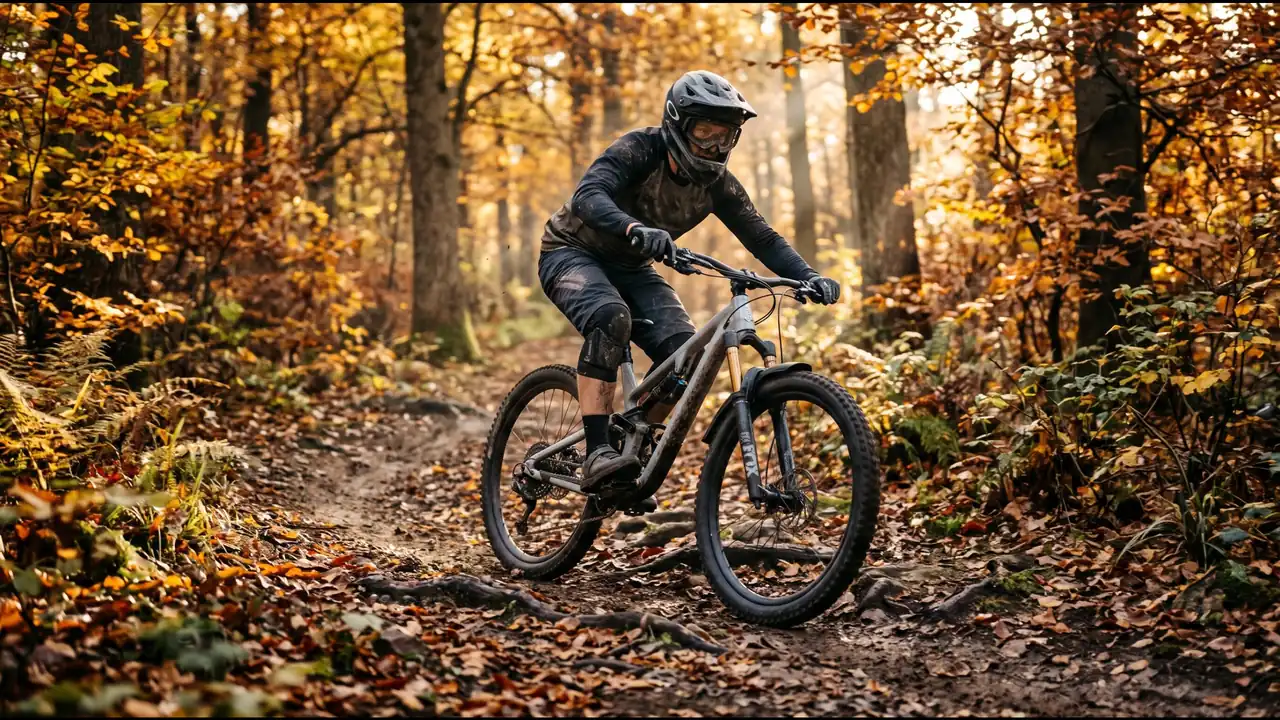
A pad that slides is worse than none, because it gives a false sense of safety. Size is determined by the manufacturer's chart, and most often you measure the circumference of the leg above and below the knee, or above and below the elbow. The S, M and L labels differ from brand to brand, so always check the chart.
Fit check in five steps
- Pull the pad on so the cap sits exactly in the middle of the knee or elbow.
- Sit down and bend your leg or arm; the pad must not bunch up or press behind the knee.
- Do about fifteen squats or arm bends and check whether it slides.
- Tighten the straps so they hold, but do not cut off circulation.
- Put shorts or trousers over the pad and check that nothing hinders pedalling.
If possible, take your bike with you or try pedalling in the shop. A small pressure at rest often becomes painful after an hour of riding, and a good pad should be forgotten about.
Comfort: ventilation, straps and washing
The most common reason pads stay at home is heat. Check whether the pad has a perforated or mesh back, whether the silicone grippers hold without squeezing, and how long the pad is. A longer sleeve holds better but is warmer. Strapless pads need a very exact size so they do not slip.
Sweat and mud wear out the fabric and foam, so wash pads following the instructions, with a mild detergent and without drying in strong sun. Clean the cap of a hard shell model from time to time and check whether it has cracked.
Elbow pads: what is different
Elbow pads do the same job as knee pads, but they are smaller and need an even more exact size, because the elbow bends more. How to choose MTB pads for elbows? For trail, a light sleeve with EN 1621-1 Level 1 is enough. For enduro and bike park choose a model that also covers part of the forearm, because in a crash the arm slides along the ground. Some manufacturers offer combined elbow and forearm pads with a hard shell.
The same brand and series for knees and elbows usually give a consistent feel and the same sizing logic, which makes buying easier.
Common mistakes when buying MTB pads
The most common mistake is buying pads that are too big "to be more comfortable". Such a pad moves off the joint in a crash, and the impact hits an unprotected spot. The second mistake is buying without a certificate, only by looks and price. The third is choosing the heaviest hard shell for recreational rides, which ends up in the backpack after an hour. Anyone asking how to choose MTB pads for themselves should be honest about their riding style and the conditions on the trail.
Do not forget that pads do not replace skill. Good technique, appropriate speed and a bike in good condition reduce the risk of a crash, and pads reduce the consequences when a crash happens anyway. Regular brake and suspension service is part of the same story.
Kids and junior pads
Children grow fast, so a pad must fit the current leg, not the one the child will grow into. How to choose MTB pads for kids? Look for junior models with an exact size chart and straps that can be adjusted with one hand. A pad that has taken a heavy impact is not handed down to a younger child. For a bike of the right size see how to choose a kids bike.
Pads as part of your kit
Pads are part of a set, not a replacement for a helmet. For bike park and faster descents combine a full face helmet, knee and elbow pads, gloves and, if needed, a back protector. For trail a light helmet and soft pads are enough. How to choose MTB pads to match the rest of your kit? The easiest way is to build the whole set around your riding style, and not to buy each piece separately.
When to replace pads
The foam in a pad is made to absorb impact, and over time and after harder crashes it loses its properties. There is no universal deadline, but replace a pad after a serious impact, when cracks are visible on the shell, when the foam is permanently deformed, or when the fabric and straps are worn. Inspect them in person before the season, and you can have your bike and gear checked at the Evolution bicycle service.
How to choose MTB pads: checklist before you buy
- Define your riding style: trail, enduro or bike park.
- Choose the type: soft, soft with a hard cap, or hard shell.
- Check the EN 1621-1 label and the level (1 or 2), as well as Type A or B.
- Measure your leg and arm and try the pads on in person, with pedalling.
- Check ventilation, silicone grippers and sleeve length.
- Buy the same brand for knees and elbows if you want a consistent feel.
Once you know how to choose MTB pads, the choice comes down to two or three models that you simply try on. If you ride with company and want advice on the trail, fill in the club membership form and follow the rides in the Evolution HUB club app.
Check your bike and gear in the workshop before the season.
Book a slotFrequently asked questions about choosing MTB pads
How to choose MTB pads for knees if I ride casually?
For casual riding on forest trails, light soft pads with EN 1621-1 Level 1 are the most practical, because you can wear them on climbs too. Make sure they fit well, do not slide and have silicone grippers at the top and bottom, and test them on a longer ride before taking them to a descent.
Do I need elbow pads or are knee pads enough?
For downhill, jumps and bike park both are recommended, because in a crash over the bars or sideways the elbows are often the first to meet the ground. For calmer trail riding, light soft elbow pads are a good compromise, and fuller arm protection suits aggressive trails.
What do EN 1621-1 Level 1 and Level 2 mean?
It is the European standard for joint protectors, written for motorcyclists, and the MTB industry uses it because there is no bicycle-specific standard. Level 2 lets less force through the pad than Level 1, but it is usually thicker, heavier and hotter, so the choice is a compromise between protection and comfort.
How long do MTB pads last and when should I replace them?
There is no fixed deadline, but replace a pad after a serious impact, or when you see cracks on the shell, permanently deformed foam, or worn fabric and straps. Foam and straps wear out over time, so inspect them regularly and wash them following the manufacturer instructions.