MTB trail safety starts long before your first descent: with a risk assessment at the trailhead, continues with controlled crash technique, and ends with knowing what to do in the first few minutes after an accident. As the Trailforks administrator for Bosnia and Herzegovina and someone who builds and maintains trails in the bike park, I know that serious injuries often don't happen on the hardest section, but where the rider is tired, unprepared or has overestimated their ability. This guide is a practical three-part protocol: before the ride, during the crash and after the crash.
In short:
- The emergency medical number in Bosnia and Herzegovina is 124, the police is 122; save both in your phone before you ride, along with the contact of someone who knows your route.
- A trail risk assessment takes 60 seconds and answers four questions: the trail, the conditions, your bike and your own condition.
- In an over-the-bars crash, let go of the bars and don't catch yourself with straight arms; tuck and roll over your shoulder to protect your collarbone and wrist.
- A suspected concussion means no more riding that day and a medical check; a helmet goes in the bin after a hard impact.
- If the injured rider has neck or back pain, don't move them and don't remove their helmet, unless their breathing is at risk.
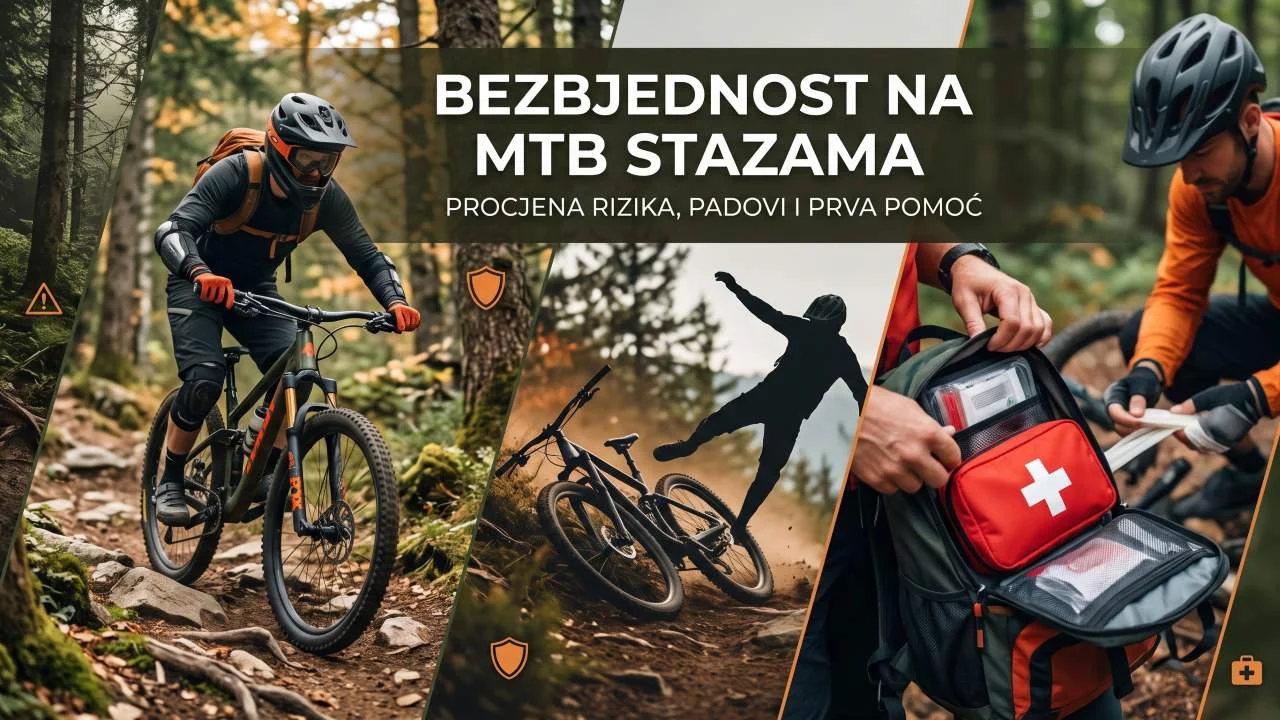
MTB Trail Safety Starts With Risk Assessment
You can't remove risk from mountain biking, but you can manage it, and that is where MTB trail safety really begins. The goal isn't to ride slowly, but to ride consciously: know what's waiting on the trail and make the decision before you're in it. Professional riders do this instinctively, while recreational riders mostly skip it.
Risk assessment in 60 seconds: four questions
- Trail: Does the difficulty of the trail match my level? The ITRS trail rating exists precisely so this question has a clear answer.
- Conditions: Is the trail wet, are there leaves covering roots and rocks, how much daylight is left? In October, leaves hide obstacles you'd spot from far away in summer.
- Bike: Do the brakes bite firmly, are the tires at the right pressure, is anything rattling? Do a quick pre-ride bike check.
- You: Are you tired, hungry, dehydrated or riding with an old injury? Physical condition is the most overlooked factor.
Risk matrix for typical situations
Risk is a combination of likelihood and consequence. A wet root on a flat section has a high chance of a crash but a small consequence. A blind jump has a lower chance but a heavier consequence.
| Situation | Likelihood | Consequence | Decision |
|---|---|---|---|
| A new jump or drop you haven't inspected | Medium | High | Inspect on foot, ride the first pass slowly or skip it |
| Wet roots on a familiar trail | High | Medium | Slow down, don't brake on the roots themselves |
| Last run of the day, tired | High | Medium to high | Finish on an easier trail |
| Alone on a remote route | Low | High | Share your route and location, carry a charged phone |
| Rock garden above your level | Medium | High | Take the B-line or walk the bike |
Mountain Bike Crash Technique: How to Fall and Reduce Injury
Crashes are part of MTB and every rider will have them. Staying safe doesn't mean never falling, it means falling in a controlled way. The two most common types of mountain bike crash are the over-the-bars fall and the sideways slide in a corner, and each has its own technique.
Over-the-bars crash (OTB)
This happens when the front wheel suddenly stops: a hole, a rock, too much front brake or entering a drop too low. The first reflex is to stick your arms out, and that is exactly what breaks collarbones and wrists. Instead:
- let go of the bars and separate yourself from the bike;
- pull your chin to your chest and bend your elbows;
- try to touch the ground with your shoulder and back first, then roll.
Sideways crash in a corner
When the wheels lose traction in a corner, stay low and let your hip and thigh slide along the ground. Don't put your arm underneath you. Knee and elbow pads do the most work here, so don't leave them at home on technical trails.
How to crash less often
- Ride in the right body position: the attack position is the foundation of control on descents.
- Look 10 to 15 metres ahead, not at the obstacle in front of your wheel. Read more in our guide to vision technique and terrain scanning.
- Brake before the corner, not in it, and learn to brake with one finger so you keep a firm grip.
- Practise technique on safe terrain such as the MTB skills area, not for the first time on the trail.
The most dangerous descent is the one you ride “one more time”, when you're already tired and think you know the trail by heart.
— Marko Ristivojević
MTB First Aid on the Trail: Step-by-Step Protocol
When a crash happens, the first few minutes decide a lot, and MTB trail safety then depends on the people around the injured rider. This order applies whether you're on a bike park trail or a remote marathon route. If you haven't taken a first aid course, I strongly recommend doing one with the Red Cross: resuscitation skills can't be learned from an article.
- Secure the scene. Place a person or a bike above the crash site to warn approaching riders. Don't become a second casualty.
- Check consciousness and breathing. Speak loudly and tap the shoulder. If the injured rider doesn't respond and isn't breathing normally, call 124 immediately and start resuscitation if you're trained.
- Call for help. On 124, give the trail name, the GPS coordinates from your phone, the nearest access road and the condition of the injured rider. Send one person to the road to meet the crew.
- Don't move them if you suspect a spinal injury. Neck or back pain, tingling or weakness in the arms and legs mean the injured rider stays in the position they're in, and the helmet stays on. The exception is threatened breathing or vomiting: then roll them onto their side, keeping the head and neck in line, ideally with two or three people.
- Stop the bleeding. Press on the wound with clean gauze or cloth and hold the pressure for several minutes without lifting. If it bleeds through, add a new layer over the old one.
- Immobilise and keep warm. If you suspect a broken collarbone, rest the arm against the body and secure it with a triangular bandage. Don't straighten deformed limbs. Cover the injured rider with a rescue blanket, because they cool down quickly lying still even in mild weather.
- Monitor their condition until help arrives. Give a seriously injured rider no food or drink and keep talking to them so you notice any change in consciousness.
Concussion: signs and the “when in doubt, don't ride” rule
Concussion is the most insidious MTB injury because the injured rider often says they're fine. Signs include headache, nausea, dizziness, confusion, sensitivity to light and not remembering the crash itself. Call 124 immediately if you notice loss of consciousness, repeated vomiting, a worsening headache, a seizure, unequal pupils or weakness in the limbs.
The rule is simple: after a suspected concussion there is no getting back on the bike that day, and the return is gradual and only after a medical check. Detailed guidance on signs and recovery is available from the American CDC HEADS UP concussion programme. Replace your helmet after a hard impact even if there are no visible cracks, because the protective foam compresses only once.
Scrapes and minor injuries
Even minor injuries shouldn't be ignored, because they are part of MTB trail safety too. Rinse a graze with clean water, remove dirt and small stones, then cover it. Show a deep cut, a heavily contaminated wound or a wound that won't stop bleeding to a doctor, and check when you last had a tetanus shot.
What to carry in your MTB first aid kit
- sterile gauze, plasters and an elastic bandage;
- a triangular bandage to immobilise an arm;
- disposable gloves and antiseptic;
- a rescue blanket and a whistle;
- a charged phone, and a power bank on longer routes.
The complete gear list, from helmet to tools, is in our guide to trail safety and essential MTB gear.
Staying Safe at Bike Park Evolution
At Bike Park Evolution on Ilinjača, the trails are marked by difficulty, so beginners can start on easier lines and progress gradually. If you want to learn crash, braking and descending technique with an instructor, get in touch with the cycling school. Good MTB trail safety also starts with a sound bike: fading brakes or worn tires are risks that get fixed in the workshop, not on the trail, and our hydraulic brake service is the place to start.
Not confident in your brakes or suspension? We'll inspect your bike before your next ride.
Book an appointmentFrequently Asked Questions About MTB Trail Safety
What is the emergency number if you get hurt on an MTB trail in Bosnia and Herzegovina?
The emergency medical number in Bosnia and Herzegovina is 124, and the police is 122. Tell the dispatcher the trail name, the GPS coordinates from your phone and the nearest access road, and send one person to meet the crew.
Should you take off the helmet after a crash on an MTB trail?
No, if the injured rider feels pain in the neck or back, or tingling or weakness in the arms and legs. The helmet is removed only if their breathing is at risk. If the rider is fully alert and has none of those symptoms, they can carefully take the helmet off themselves.
When can I get back on the bike after a concussion?
Never on the same day. A medical check comes first, then a gradual return only once the symptoms have fully gone, and any new symptom means a step back and rest.