Hi, I'm your guide through this engineering project. Enduro trail building takes more than enthusiasm.
It demands an understanding of geology, hydrology and, most importantly, how a rider's body reacts to terrain.
🗺️ Phase 1: Routing the Trail – Where Perfect Flow Begins
The key moment of any enduro trail building project is the starting line. Poor routing means endless maintenance and a bad riding experience.
Your goal is to create a constant grade with minimal erosion.
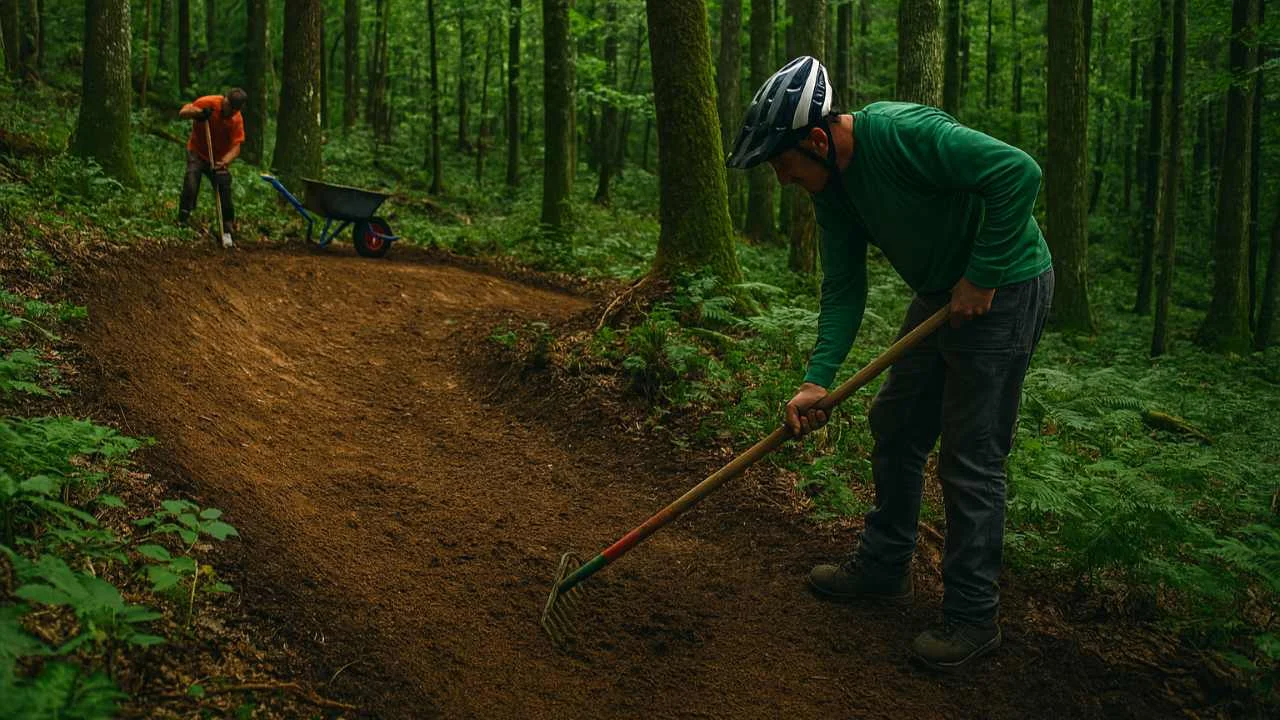
🌲 Terrain Scouting and Sustainable Grade
Never start without detailed scouting. The terrain dictates the trail, not the other way around.
Identify key points: The start, the finish, natural obstacles (rocks, trees) and the best viewpoints.
The 10-15% rule: Aim for an average grade of 10-15% on an enduro trail. Too steep destroys the soil, too flat kills the flow.
The "contour line" method: Use the slope of the terrain to route your turns instead of cutting across it. This reduces erosion.
💡 For inspiration, check out the Roller Coaster trail, https://mtbevo.org/bike-park-evolution/roller-coaster-trail-istocno-sarajevo/, where flow is achieved through masterful use of natural terrain.
🔨 Phase 2: Heavy Work – Clearing and Preparing the Line
After routing comes the heavy work. You can't have a technical trail without a clean, stable base, and that is where serious enduro trail building really starts.
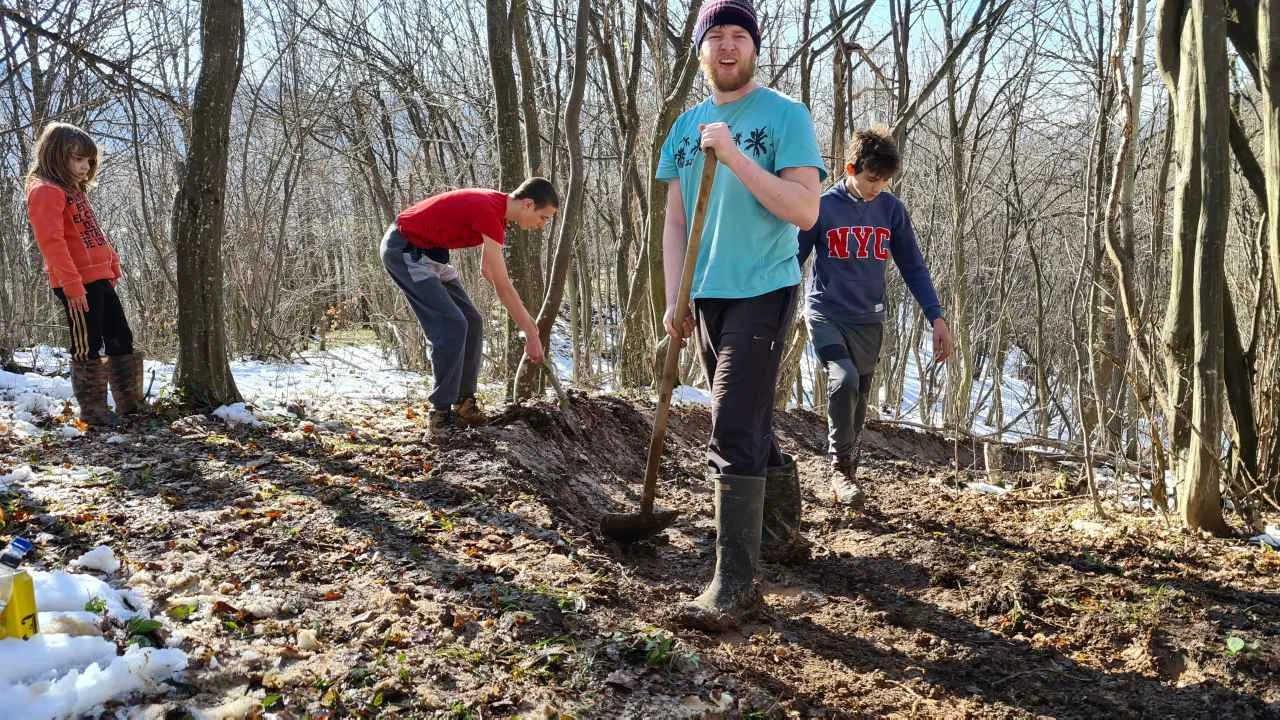
🪓 Life-Changing Tools
For serious work, forget garden shovels. You need professional tools.
McLeod: Combines a rake and a hoe – perfect for clearing leaves and leveling the surface.
Pulaski: An axe and a mattock in one – essential for cutting roots and breaking hard soil.
Sharp-point shovel: Ideal for digging berms and preparing drainage channels.
Bucket/wheelbarrow: For hauling away excess soil and rocks.
🧹 The First Pass – Setting Width and Depth
The first pass is just clearing. Remove rocks and roots down to a depth of about 15 centimeters.
Keep the trail width consistent, ideally 50-70 cm, depending on the layout.
All organic material (leaves, rotten branches) must be removed, because it decomposes and turns into mud.
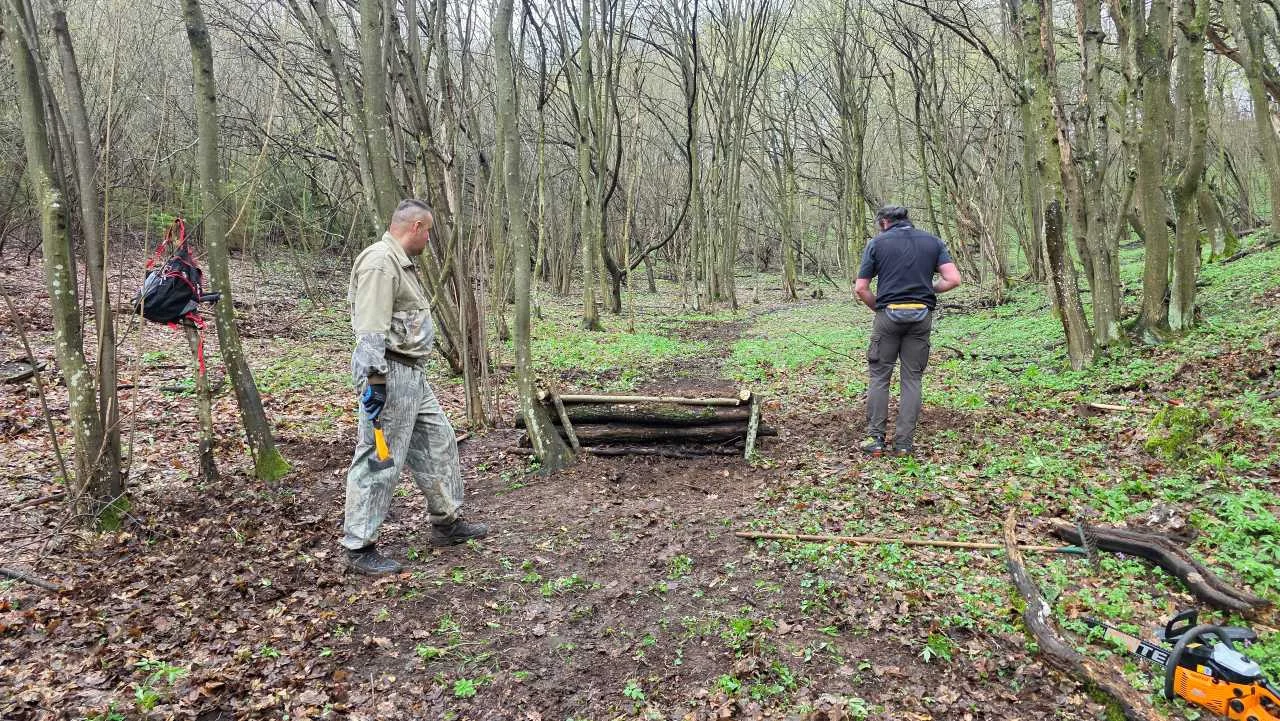
⛰️ Phase 3: Building the Key Technical Features
This is where an enduro trail gets its soul. Features have to be built safely and logically.
🔄 The Berm (Bank) – The Foundation of Speed and Flow
The berm is the heart of flow. It lets you carry speed from one corner into the next. Once it's built, learn how to ride it properly in our berm riding technique guide.
Bank angle: Extreme berms need a slope of 45° to 60°.
Height: It has to be high enough to support the tire at full speed. When you build a berm, start with a height of 50 cm on the inside.
Construction: Use hard, mineral soil. Compact the soil layer by layer, not all at once. Water and compaction are your best friends.
🚀 Jumps and Drops
These features must be predictable and safe. Enduro is about speed, not just height. For more examples of what to include on a line, see our overview of MTB trail features.
Lip (takeoff ramp): Make the rise progressive (not too vertical).
Landing: It has to be longer and gentle. The landing must follow the wheel's landing line, with a slope that absorbs the impact. Ideally, the landing angle matches the takeoff angle.
Phase 4: Drainage – The Fight Against Water
Water is enemy number one. Poor trail drainage will destroy your work within a single season.
🌊 Key Drainage Techniques
Use these simple but effective methods:
Water bars: Small ridges set diagonally across the trail (at a 30° angle) that divert the water. Use rocks or logs and cover them with soil.
Grade reversals: Short, gentle climbs in the middle of the trail. They interrupt the flow of water and push it off to the side.
Berm optimization: The end of a berm should be open, letting water escape instead of collecting at the bottom.
🚵 Phase 5: Testing, Tweaks and the Final Touch
Before you declare the trail finished, you have to test it. Riding reveals every mistake.
Test the line: Ride the trail several times at different speeds. Focus on the spots where you have to brake where you don't want to.
Fixing mistakes: If you brake on the way into a turn, the berm is either too low or your entry speed is too high – adjust it!
The "five-six" rule: A trail only settles after five to six months and about as many months of rain.
📍 Phase 6: Digitalization and Promotion
Your trail deserves to be ridden by others. The key platform for that is Trailforks.
📲 Adding Your Trail to Trailforks
This is the standard for the global MTB community. You'll need a GPS track of the trail (ideally from a bike computer or a phone app), and a finished Trailforks trail map helps riders find it.
Create the trail: In the Trailforks menu, choose "Add Trail".
Enter the GPS data: Upload the GPX file. The platform will automatically generate an elevation profile.
Categorization: Choose the type (Enduro) and the difficulty, using the ITRS trail rating guide as a reference. Be honest – an overly hard rating puts riders off.
Linking to the Bike Park: Connect the trail to its home Bike Park Evolution portal.
🔗 Remember, your work is part of a wider network. Check out other trails and projects at https://mtbevo.org/bike-park-evolution/ and become part of the community.
Enduro trail building: permits, safety and maintenance
Enduro trail building isn't just digging. Before the first shovel goes in, you need to sort out land ownership, permissions and safety, and once the trail is built it needs regular maintenance.
- Landowner consent: without it the trail must not exist; talk to the owner or the forest authority and agree on the rules.
- Safety clearances: jumps and drops need safe landing zones and good visibility.
- Nature protection: avoid roots and endangered habitats, and plan drainage so that water doesn't cause erosion.
- Signage: the trail must carry a difficulty marking and warnings for dangerous sections.
- Maintenance: before the season and after rain, walk the trail, clean the drainage and repair damaged berms.
Digitalization: the final step
Once your enduro trail building is done, record the GPS track and add the trail to Trailforks with an accurate description and difficulty. That helps riders know what to expect. For an example of well-kept trails, see Bike Park Evolution, and for the story behind the trails, read how MTB Evolution came to be. In short, enduro trail building is teamwork: planning, permits, work in the field and maintenance. A well-built trail lasts for years, while a bad one turns into a ditch after the first rains. Get your bike ready for the enduro descent at a bike service.
Sources and Further Reading
- IMBA – International Mountain Bicycling Association – trail building and maintenance standards
- Mountain biking (Wikipedia) – an overview of the sport and its terrain
🚀 Time to Ride! Discover Our Best Trails
Roller Coaster Trail
Experience clean, uninterrupted flow! A perfect example of an enduro trail with a constant grade.
Katera Trail (DH)
For speed lovers: our most demanding downhill trail. A true test of your skills.
Fox Skull Trail
A great mix of technical sections and fast corners. A real enduro challenge.
Deep Forest Trail
A hidden gem: a classic natural trail. Enjoy the nature and the roots!
Frequently Asked Questions
What do I need to know before starting enduro trail building?
Before the first shovel goes in, you need the landowner's consent, safe landing zones and good visibility for jumps and drops, protection of roots and habitats, difficulty signage, and a maintenance plan.
What grade should an enduro trail have?
Aim for an average grade of 10-15%. Too steep destroys the soil, while too flat kills the flow.
How wide should the trail be?
Keep the width consistent, ideally 50-70 cm, depending on the layout of the trail.
How steep and high should a berm be?
Extreme berms need a slope of 45° to 60°. Start with a height of 50 cm on the inside, use hard mineral soil and compact it layer by layer.
How long does it take for a new trail to settle?
According to the five-six rule, a trail only stabilizes after five to six months and about as many months of rain.
How do I add my trail to Trailforks?
In the Trailforks menu choose Add Trail, upload your GPX file, select the type (Enduro) and an honest difficulty rating, and then connect the trail to the Bike Park Evolution portal.