If you want your workouts to have a purpose and your progress to show week after week, you need to know which cycling training zone you are riding in.
Zones help you train smart: hard enough to improve ✅ but controlled enough to avoid injury and fatigue. 😴
⭐ What are cycling training zones?
Training zones are levels of riding intensity that affect your body in different ways, from easy recovery spins to a maximal sprint.
Two types are used:
1️⃣ Heart rate zones ❤️ – measure how hard your heart is working
2️⃣ Power zones ⚡ – measure watts relative to your FTP value
You get the best results when you use both ✅

🎯 Benefits of training zones
✔ Faster progress with controlled stress
✔ Better endurance and strength
✔ Easier training planning
✔ Lower risk of overtraining
✔ Clear tracking of your form through the season
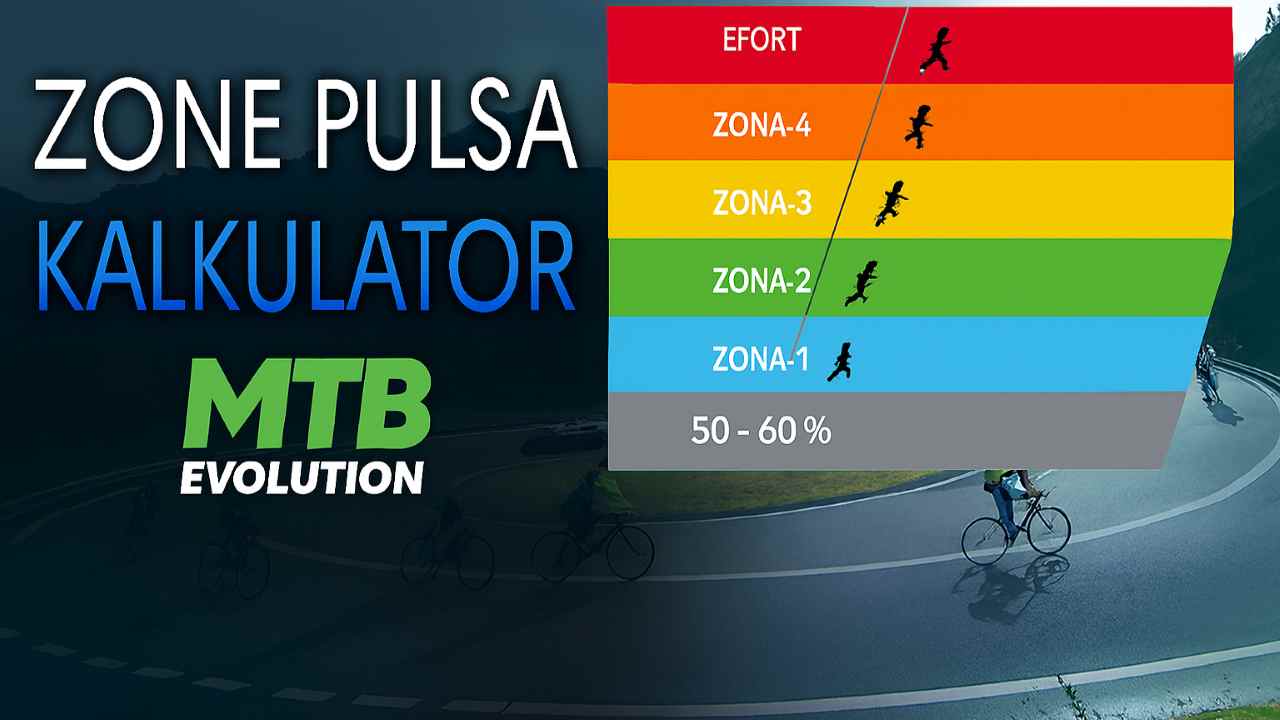
✅ Heart rate zones (HR zones) – 5 basic zones
| Zone | Intensity | % of max heart rate | Effect on the body | Workout type |
|---|---|---|---|---|
| Z1 – Recovery 😌 | Very easy | 50–60% | Active recovery, light circulation | Easy spin after hard workouts |
| Z2 – Endurance 💪 | Moderate | 60–70% | Fat burning, aerobic system development | Longer rides 1–4h |
| Z3 – Tempo 🚴 | Moderately hard | 70–80% | Greater endurance, getting used to race pace | Workout 30–90 min |
| Z4 – LT / Threshold 🔥 | Hard | 80–90% | FTP increase, better climbing | Intervals 10–20 min |
| Z5 – VO2Max ⚡ | Maximal | 90–100% | Big gains in power and speed | Intervals 2–5 min |
📌 Ideal for recreational riders: most of your time in Z2, occasionally Z3–Z4.

⚡ Power zones by FTP – 6 zones
FTP = the power you can hold for 60 minutes
You need a power meter on the pedals or crank. If you want to build your base properly, see our guide to base training with an FTP test and heart rate zones.
| Zone | % FTP | Effect | Workout examples |
|---|---|---|---|
| Z1 – Recovery | <55% | Fast recovery | 30–90 min |
| Z2 – Endurance | 56–75% | Builds the aerobic base | 2–5h |
| Z3 – Tempo | 76–90% | The grey zone – useful but tiring | 60–120 min |
| Z4 – Threshold | 91–105% | Improves climbing and TT performance | 2×20 min / 3×12 min |
| Z5 – VO2 Max | 106–120% | Increases oxygen capacity | 4×4 min / 5×3 min |
| Z6 – Anaerobic | 121–150% | Sprinting and explosiveness | 15–60 seconds |
🧮 How to calculate heart rate zones
👉 You need a heart rate monitor.
Use our heart rate zone calculator
Max heart rate formula (estimate):
220 – age = max heart rate
Then use the percentages from the table above ✅
(The most accurate option is a lab test or a hill test)
⚡ How to calculate your FTP
Do a 20-minute all-out test on a trainer or a flat road:
1️⃣ 10–15 min warm-up
2️⃣ 20 min at the maximum pace you can sustain
3️⃣ Average watts × 0.95 = FTP
Example:
260 W average × 0.95 = ✅ 247 W FTP
Then apply the power-based cycling training zones from the FTP table ✅
🔥 Sample training week (recreational rider)
| Day | Workout | Zone | Duration |
|---|---|---|---|
| Monday | Recovery | Z1 | 45–60 min |
| Tuesday | Tempo intervals | Z3–Z4 | 60–90 min |
| Wednesday | Easy | Z2 | 1–2h |
| Thursday | VO2 Max intervals | Z5 | 45–75 min |
| Friday | Rest or Z1 | — | — |
| Weekend | Long ride | Z2 | 2–4h |
📌 If you only train 3 days a week:
✅ 2 structured sessions + 1 long ride
🧠 Mistakes to avoid
🚫 Always riding in Z3 (too hard to recover, too easy to improve)
🚫 No rest
🚫 Testing too rarely → wrong zones
🚫 Skipping Z2 rides
🎯 Tips for MTB riders
✔ Work on technique during Z2 sessions
✔ Z4 and Z5 intervals are ideal for climbs and races, and the speed pyramid interval workout is a good way to practise them
✔ Keep Z6 short — for a sprint or a drop/tough section
🔗 We recommend
- Bicycle Service Evolution – get your bike ready for training
Gravel cycling – guide – a great base for Z2 training
Zwift indoor training – precise zone control in winter
- ❓ FAQ – Cycling Training Zones
- How do I know which zone I'm in?
→ Watch your heart rate or watts in real time on your watch or trainer. - How often should I do VO2 Max work?
→ Once a week is enough for most recreational riders. - How often should I do an FTP test?
→ Every 6–8 weeks. - Do zones work without equipment?
→ Yes — you can use perceived effort (RPE), but it is less precise.
- ✅ Conclusion
- Cycling training zones are the key to smart progress:
more power, better endurance, less fatigue! 💪🚴♂️
How to apply cycling training zones in a weekly plan
Knowing your cycling training zones is only half the job. The other half is sticking to them in practice, and these are the rules I follow and recommend:
- Most of your training should be easy. Zones 1 and 2 build the base, and only a small part of the week goes into the high zones.
- Limit hard sessions to two per week. Leave an easy day or a rest day between them.
- Use heart rate and power together. Heart rate lags behind effort, so power or perceived effort helps with short intervals.
- Repeat your FTP test every few weeks. As your fitness grows, the zones shift, so the old numbers no longer apply.
- Adjust zones to the terrain. On an MTB, climbs and technical sections change your heart rate, so treat zones as a guideline, not a law.
Once you turn cycling training zones into a habit, progress becomes predictable and you avoid overtraining. And make sure your equipment is never an excuse: have a look at our bike preparation guide.
Example week for a recreational rider
To make all this concrete, here is what a week could look like for a rider with about five hours for the bike. The numbers are approximate and serve as a starting point, not a rule.
- Monday: rest or 30 minutes of very easy riding for recovery.
- Tuesday: 60 minutes in the second zone, a steady rhythm without strain.
- Wednesday: intervals, for example four times five minutes in a high zone with a break in between.
- Thursday: rest or a short walk, because your body improves while it recovers.
- Friday: 45 minutes of easy riding with a few short accelerations.
- Saturday: a longer ride of two to three hours on trails, mostly in the lower zones.
- Sunday: a relaxed ride or rest, depending on how tired you are.
If something doesn't suit you, move the days around to fit your schedule, but keep the principle: every hard ride is followed by an easier one. If you track heart rate and power over a few weeks, you will see the same effort feel easier, and that is the best sign of progress. For more on rest days, read our recovery protocol for recreational riders. Prepare your bike in advance, because a chain or tire problem can easily ruin the plan, and that is what the service booking is for.
What else to track besides zones
Numbers from cycling training zones are a useful tool, but they don't tell the whole story. Besides heart rate and power, pay attention to a few simple indicators that show how your body responds to the load.
- Resting heart rate. If it is a few beats higher than usual in the morning, that is a common sign of fatigue or an oncoming illness.
- Sleep quality. Poor sleep slows recovery, and it shows in your intervals the very next day.
- Feeling in your legs. Heavy legs on an easy ride mean it's time for extra rest.
- Nutrition and hydration. Long rides demand carbohydrates and fluids, otherwise your numbers drop for no visible reason.
When these indicators agree with your numbers, you can be sure you're doing the right thing. When they don't, trust your body, reduce the load and carry on the next day. Progress in cycling comes from patience, consistency and enough rest, not from one hard workout.
Gear that makes tracking easier
For heart rate, a chest strap or a smartwatch is enough, and for power you need a power meter on the pedals or drivetrain. If you are just starting out, begin with heart rate only, because it is cheaper and accurate enough for basic planning. A power meter only makes sense once your training gets more serious and you need precise data for intervals. If you are choosing devices, our guide to cycling gadgets can help.
Sources and further reading
- Heart rate monitor (Wikipedia) – how heart rate is measured and what devices exist
- Cycle sport (Wikipedia) – an overview of cycling disciplines